ADVERTISEMENT
Instructions:
- Mix the Dough: In a large mixing bowl, combine the flour, salt, and yeast. If you’re using honey or sugar, add that as well. Stir the dry ingredients to mix them evenly. Then, slowly add the warm water, stirring with a wooden spoon or your hands until the dough comes together. It should be sticky and shaggy in texture—don’t worry about it being perfectly smooth. The key is to avoid overworking it.
- Let the Dough Rise: Cover the bowl with a damp kitchen towel or plastic wrap. Let the dough sit at room temperature for about 12-18 hours. During this time, the dough will rise slowly, developing flavor and structure. You can make the dough in the evening and let it rise overnight for convenience.
- Shape the Dough: After the dough has risen, it should be bubbly and have a slightly tangy aroma. Turn it out onto a well-floured surface. Gently shape the dough into a ball by folding the edges inward. Don’t knead it—just form it lightly so that it holds its shape. If you prefer a more rustic look, leave the dough as a round shape; if you want a more classic loaf, fold the dough into a tighter shape.
- Second Rise: Transfer the dough to a piece of parchment paper or a clean towel that has been lightly dusted with cornmeal or flour. Cover it loosely and let it rest for another 1-2 hours. It will rise a bit more during this time.
- Preheat the Oven: While the dough is resting, place a Dutch oven or a heavy pot with a lid in your oven and preheat it to 450°F (230°C). The pot will be used to bake the bread, creating a hot, steamy environment that gives the bread its signature crust.
- Bake the Bread: Once the dough has risen for the second time, carefully remove the hot pot from the oven. Using the parchment paper, lift the dough and place it into the hot pot. Cover the pot with its lid, and bake the bread for 30 minutes. After 30 minutes, remove the lid and continue baking for an additional 10-15 minutes to brown the top and create a crispy crust.
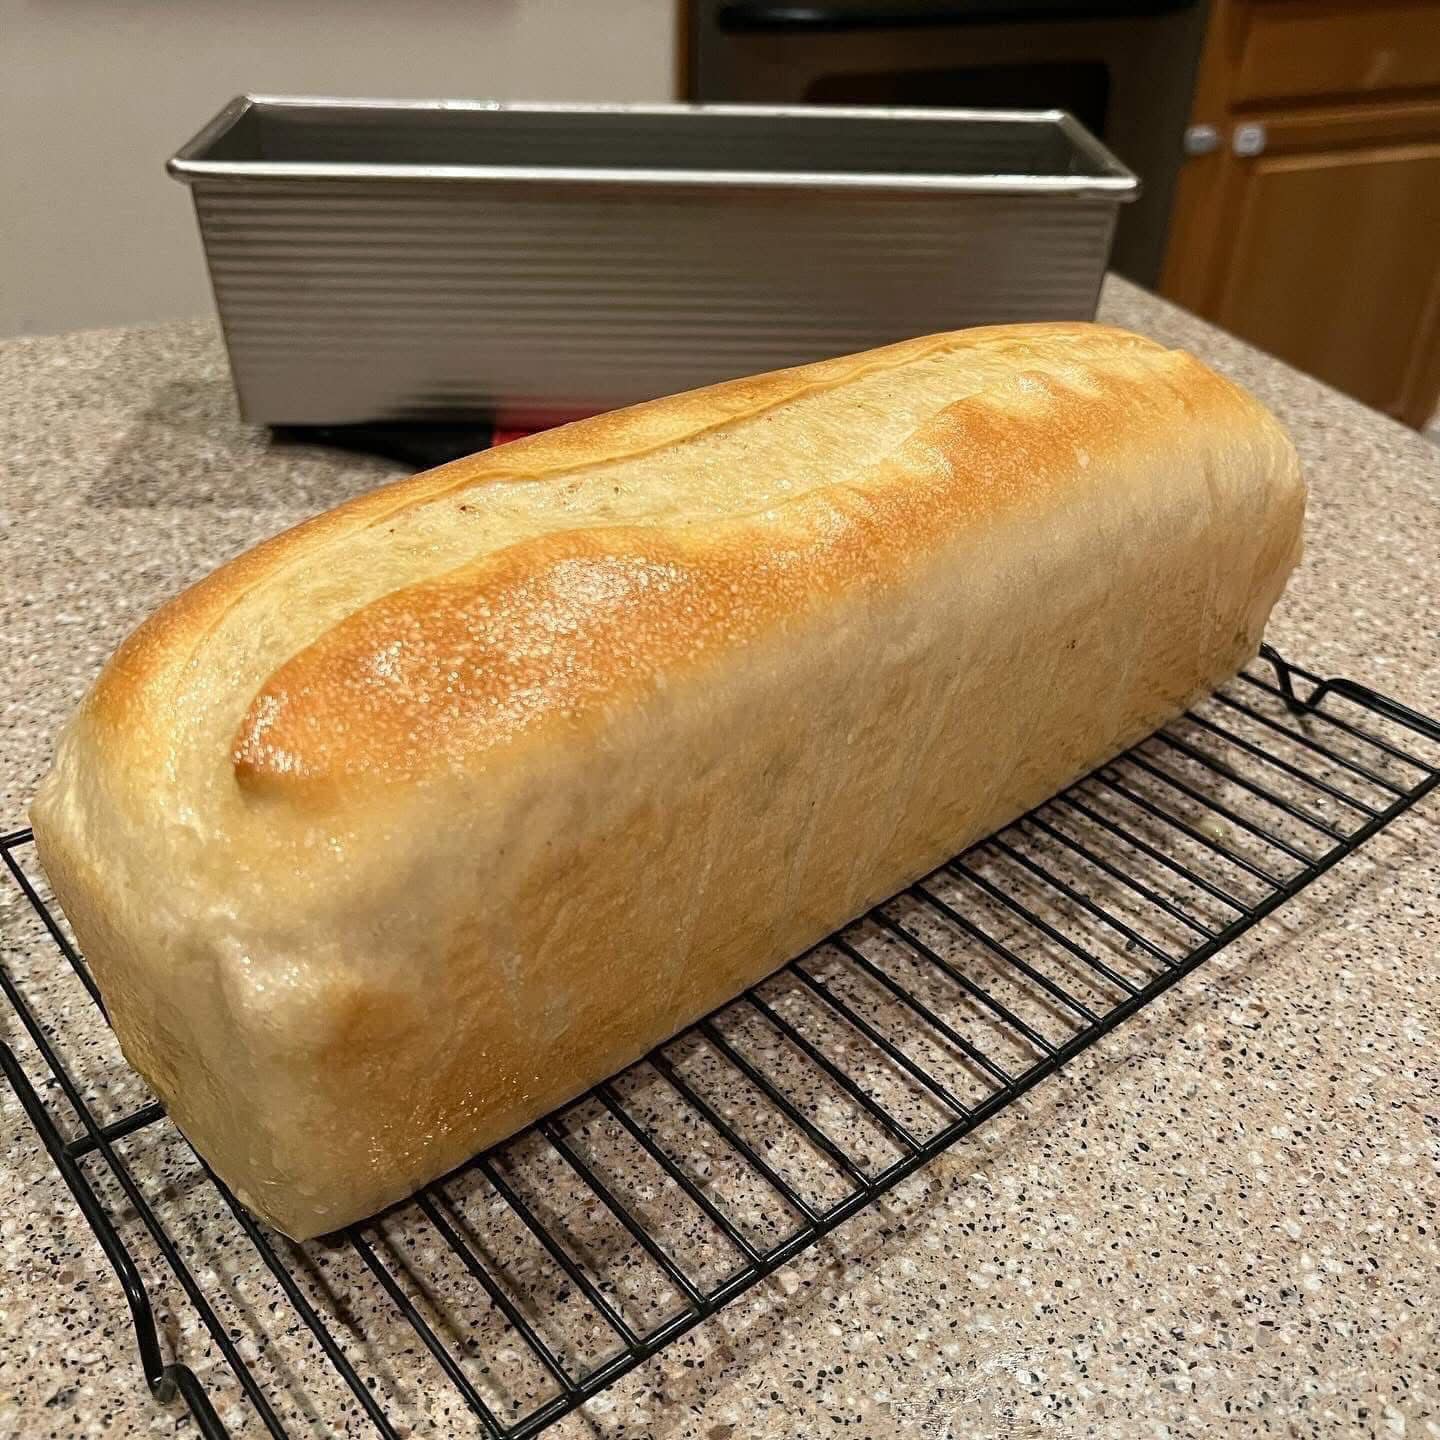
- Cool and Serve: Once the bread is golden brown and sounds hollow when tapped on the bottom, remove it from the pot and place it on a cooling rack. Let the bread cool for at least 30 minutes before slicing (this helps set the crumb and makes it easier to cut).
Tips for Success:
- Flour Variations: You can experiment with adding a portion of whole wheat flour, rye flour, or even adding a bit of cornmeal for texture.
- Add-ins: Want to get creative? You can add ingredients like herbs (rosemary, thyme), cheese (cheddar, parmesan), or seeds (sunflower, pumpkin) to make the bread your own.
- Crispier Crust: For an extra crispy crust, you can place a small dish of water in the oven while baking to create steam.
- Oven Temperature: Make sure your oven is fully preheated and hot before baking. A hot oven is essential for a good rise and crispy crust.
Why You’ll Love No Knead Artisan Bread:
- Effortless: This bread requires so little active time and doesn’t need kneading. It’s perfect for beginners and busy bakers who want fresh bread with minimal effort.
- Flavorful: The long fermentation process develops rich, complex flavors, making each bite a delightful experience.
- Perfect Crust: The baking method in a hot pot or Dutch oven ensures a golden, crispy crust that contrasts beautifully with the soft, airy interior.
- Versatile: From sandwiches to toast to dipping in soup, this bread is perfect for any occasion.
Conclusion
No Knead Artisan Bread is a game-changer for anyone who loves homemade bread but doesn’t have the time or energy for traditional bread-making methods. With just a few simple ingredients and some patience, you can create a loaf that’s crusty, soft, and full of flavor. Whether you’re an experienced baker or a beginner, this recipe will give you the satisfaction of enjoying fresh, warm bread straight from the oven.
Try it out today, and you’ll wonder why you ever bought store-bought bread again! 🍞✨
