ADVERTISEMENT
### Step-by-Step Instructions for No-Knead Multi-Seed Bread
Making **No-Knead Multi-Seed Bread** is incredibly simple and requires minimal effort. Here’s how to do it:
#### Step 1: Combine Dry Ingredients
In a large mixing bowl, combine the **flour**, **salt**, **instant yeast**, and your choice of **seeds**. Stir the mixture with a spoon or your hands to distribute the yeast and seeds evenly.
#### Step 2: Add Water
Add the **lukewarm water** to the dry ingredients and stir until a sticky dough forms. You don’t need to knead the dough; simply mix until everything is combined. If the dough feels too dry, add a little more water (a tablespoon at a time) until the dough is well-hydrated but not too runny.
#### Step 3: Let the Dough Rise
Cover the bowl with a clean kitchen towel or plastic wrap and let the dough rest for **12 to 18 hours** at room temperature. This extended fermentation time allows the dough to rise and develop flavor without the need for kneading. The dough will be ready when it has doubled in size and is dotted with air bubbles.
#### Step 4: Shape the Dough
After the dough has risen, lightly flour a surface and turn the dough out onto it. Gently fold the edges of the dough inward to shape it into a round or oval loaf. You don’t need to handle it too much; just bring the edges together and form a basic shape.
#### Step 5: Preheat the Oven and Dutch Oven
While the dough is resting, preheat your oven to **450°F (232°C)**. If you’re using a **Dutch oven** (which helps to create a crispy crust), place it in the oven to heat up. This is crucial for getting that beautiful, golden-brown crust on your bread.
#### Step 6: Bake the Bread
Once the oven is preheated, carefully transfer the shaped dough into the hot Dutch oven. If you don’t have a Dutch oven, you can bake the bread on a baking sheet, but a Dutch oven helps the bread retain moisture and rise beautifully.
Cover the Dutch oven with its lid and bake the bread for **30 minutes**. After 30 minutes, remove the lid and continue baking for an additional **15-20 minutes** or until the bread is golden brown and has a hollow sound when tapped on the bottom.
#### Step 7: Cool and Serve
Remove the bread from the oven and let it cool on a wire rack for at least 30 minutes before slicing. The bread will continue to set and firm up as it cools. Slicing too soon may result in a gummy interior, so patience is key.
### Tips for Perfect No-Knead Multi-Seed Bread
– **Use a kitchen scale**: For accuracy, measure your flour by weight rather than volume. This will give you more consistent results.
– **Experiment with seed combinations**: You can mix and match seeds depending on your preferences. Try adding sunflower seeds, sesame seeds, or even poppy seeds for a different texture.
– **Ensure the dough is well-hydrated**: The dough should be sticky, not dry. If the dough feels too dry, add a little more water until it reaches the right consistency.
– **Don’t skip the long fermentation**: The extended fermentation time is crucial for developing flavor and texture.
If you don’t have 12 hours, you can let it rise in the fridge for up to 24 hours.
– **Add a steaming element**: For an extra-crispy crust, you can place a pan of hot water on the bottom rack of your oven to create steam while baking. This helps to form the golden, crackly crust that artisan breads are known for.
### Conclusion
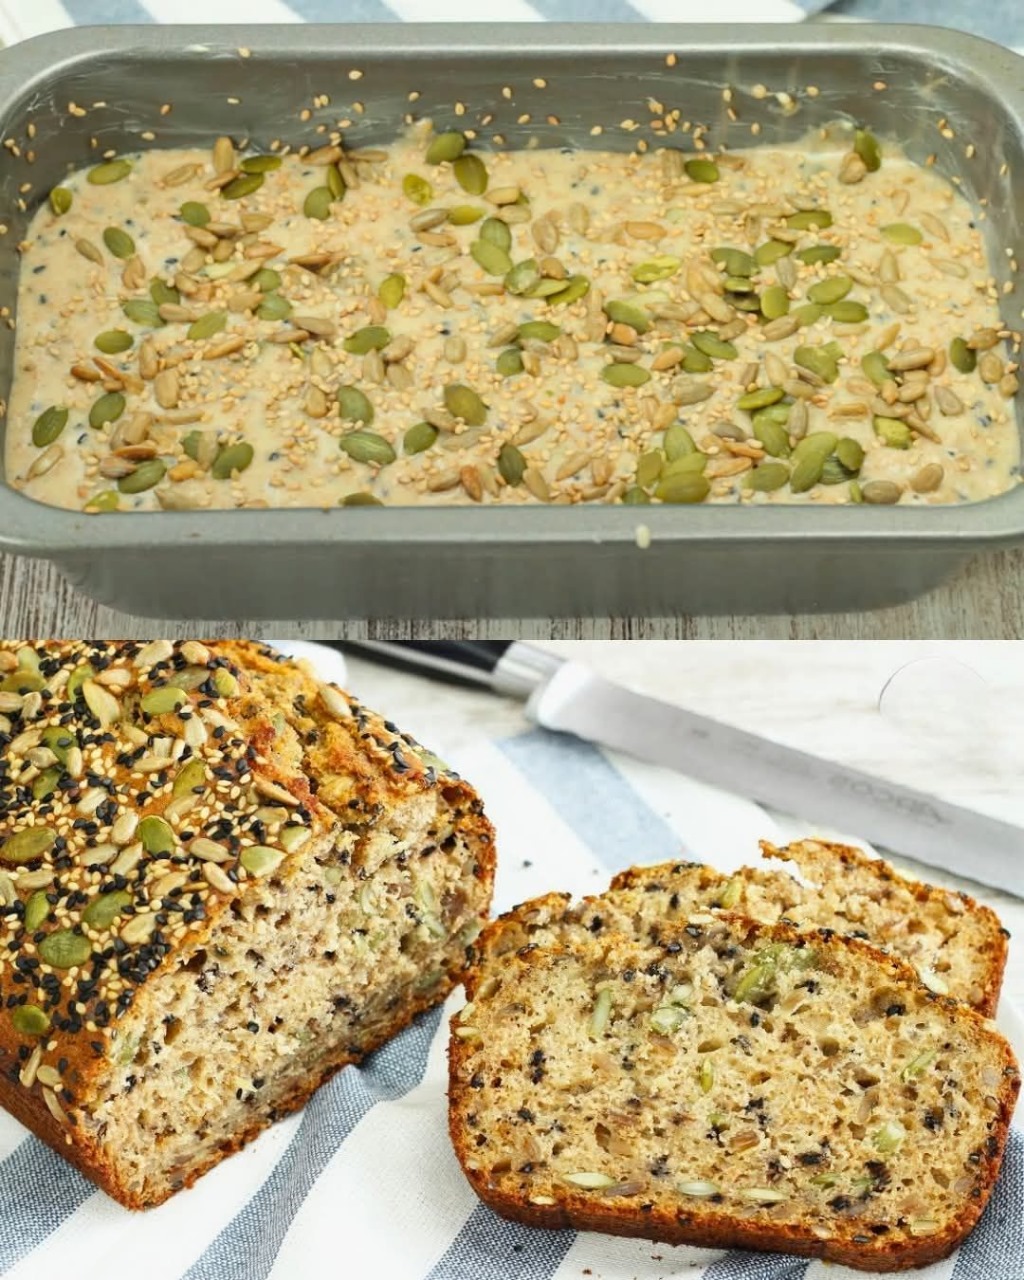
**No-Knead Multi-Seed Bread** is a simple, easy, and incredibly rewarding recipe that allows you to enjoy fresh, homemade artisan bread without the need for kneading or hours of effort. With its combination of hearty seeds and rich flavor, this bread is not only nutritious but also perfect for sandwiches, toasts, or as a side dish with soups and salads. By following the straightforward steps outlined in this article, you can master the art of no-knead bread and enjoy a fresh, golden loaf anytime you wish. Happy baking!
