ADVERTISEMENT
Step 3: Let the Solution Work
- Leave It Overnight
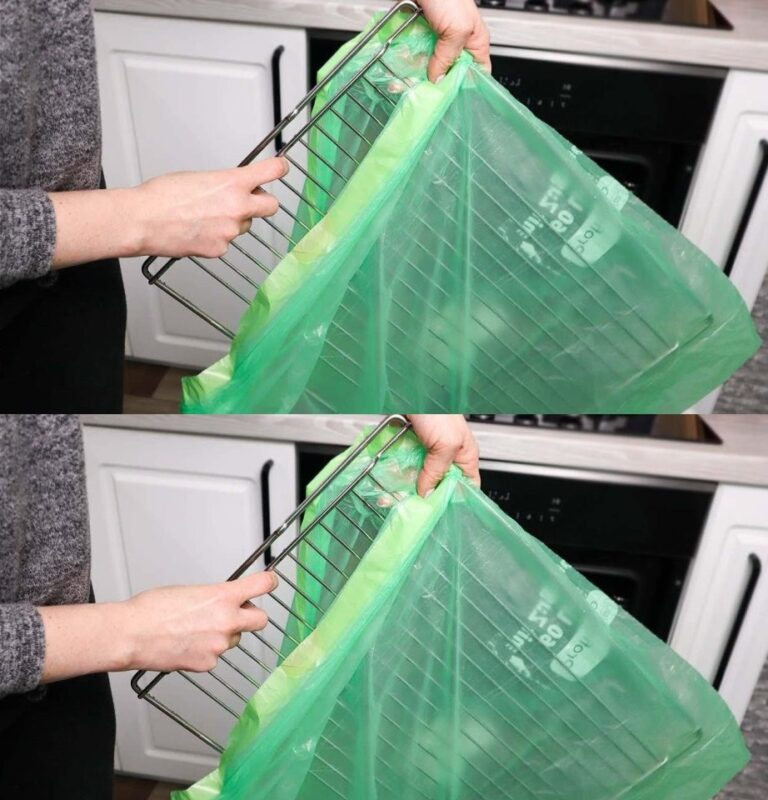
Set the sealed bag aside in a safe location away from children and pets. Allow the ammonia to work its magic for 12–24 hours. The fumes will soften even the toughest buildup. - Check Progress
After the waiting period, gently agitate the bag to dislodge stubborn debris. You’ll notice the grime peeling off the grate effortlessly.
Step 4: Rinse and Final Touches
- Remove the Grate
Open the bag carefully to avoid inhaling the fumes. Take out the grate and inspect it. - Rinse Thoroughly
Use warm water to rinse off any remaining residue. If necessary, use a soft brush or sponge for a quick touch-up. - Dry the Grate
Pat the grate dry with paper towels or a clean cloth to prevent rust. Once dry, it’s ready to be reinstalled.
Pro Tips for Best Results
- Reuse the Bag: If you have multiple grates to clean, you can reuse the same bag and solution for efficiency.
- Avoid Overexposure: Do not leave the grate in the solution for more than 24 hours, as prolonged exposure may damage certain materials.
- Test a Small Area First: If you’re unsure how your grate’s material will react to ammonia, test a small section before proceeding.
Why This Method Works
The combination of ammonia fumes and the sealed environment creates a powerful cleaning reaction. Ammonia breaks down the proteins and fats in grease, loosening stuck-on food particles and grime. By isolating the grate in a sealed bag, the fumes concentrate directly on the surface, eliminating the need for manual scrubbing.
Cleaning your grates doesn’t have to involve endless scrubbing or harsh detergents. With this simple bag method, you can restore your grates to their original shine with minimal effort.
