ADVERTISEMENT
## How to Make No-Oven Stovetop Bread
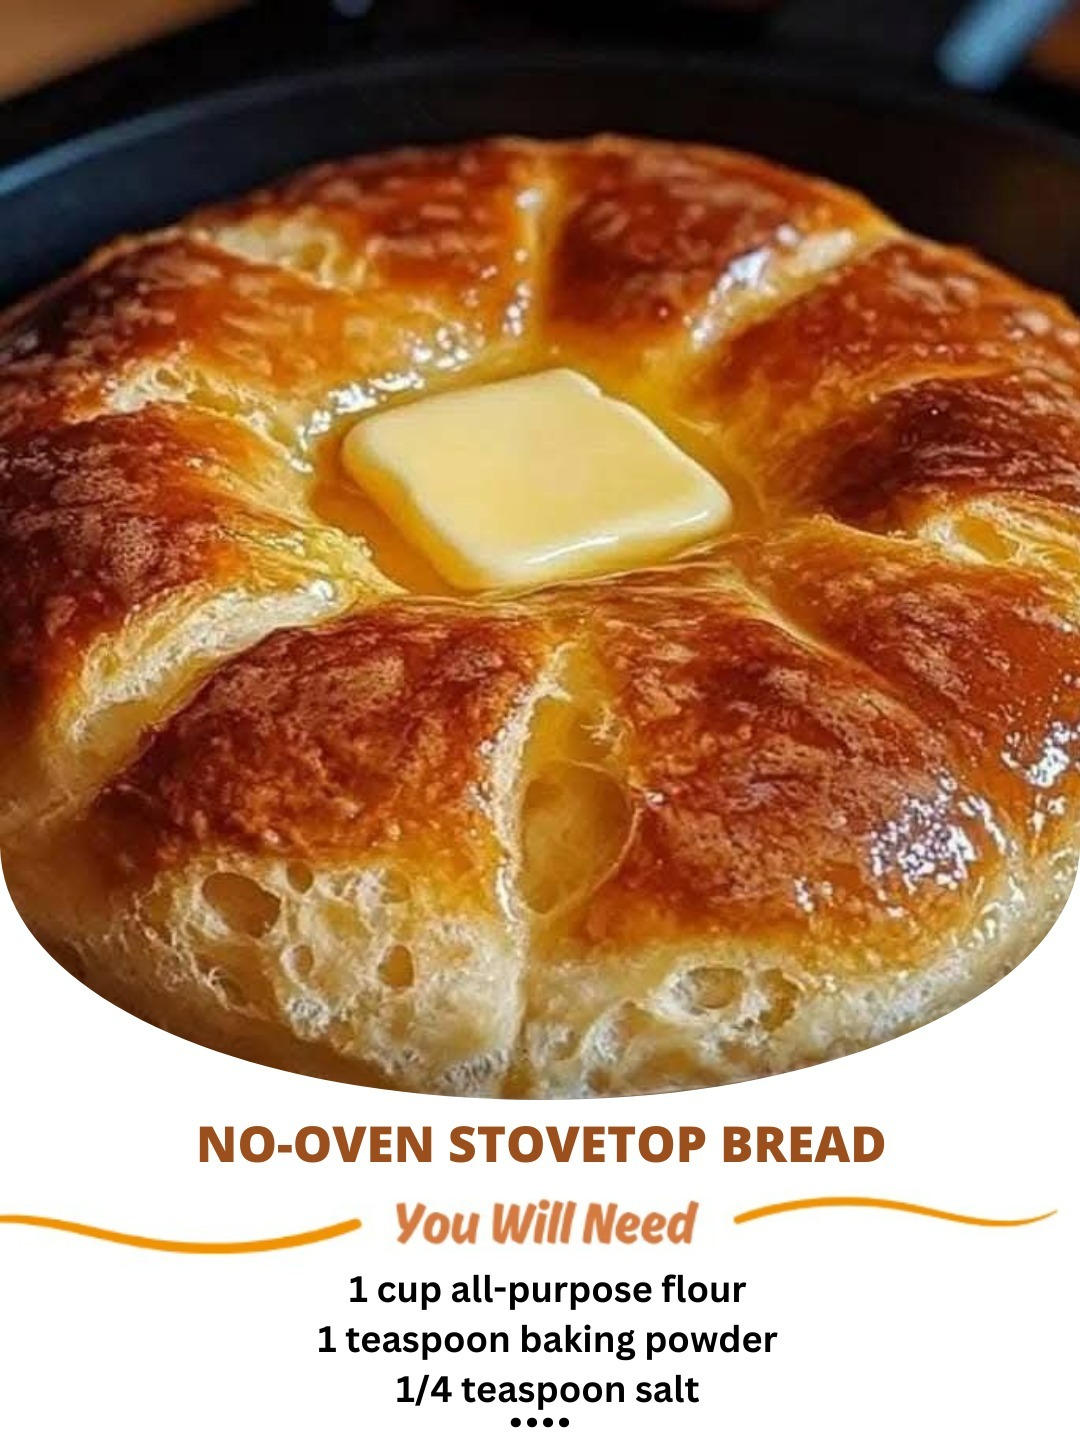
Now that we have a basic understanding of the ingredients and equipment, let’s dive into the step-by-step process of making **No-Oven Stovetop Bread**.
### Step 1: Mix the Dry Ingredients
In a large mixing bowl, combine 2 cups of **all-purpose flour**, 2 teaspoons of **baking powder**, 1 teaspoon of **salt**, and 1 tablespoon of **sugar** (optional). Stir the ingredients together until evenly combined.
### Step 2: Add the Wet Ingredients
In a separate bowl or measuring cup, mix 1/2 cup of **milk** (or water for a dairy-free option) and 1/4 cup of **melted butter** or oil. Add these wet ingredients to the dry ingredients and stir until just combined. The dough should be soft but not overly sticky.
### Step 3: Knead the Dough
Turn the dough out onto a lightly floured surface and knead it for about 2-3 minutes, or until it becomes smooth. Since this is a quick bread, you don’t need to knead it for too long—just enough to bring it together.
### Step 4: Shape the Dough
Shape the dough into a round or oval shape, depending on your preference and the size of your pan. The dough should be about 1 to 1.5 inches thick. You can make the bread thinner for a crispier result or thicker for a fluffier texture.
### Step 5: Heat the Pan
Place a **heavy-bottomed skillet** or **cast-iron pan** on the stovetop over medium heat. Allow it to heat up for a few minutes. If you’re using a non-stick pan, you may not need to add any additional oil. If you’re using a regular skillet, lightly grease the pan with a small amount of butter or oil.
### Step 6: Cook the Bread
Carefully place the shaped dough into the heated pan. Cover the pan with a **lid** to trap the heat inside. Allow the bread to cook for about 8-10 minutes on one side, until the bottom is golden brown and crisp. Check occasionally to make sure the bread isn’t burning.
### Step 7: Flip and Cook the Other Side
Once the bottom is browned, carefully flip the bread using a spatula or dough scraper. Cover the pan again and let the bread cook for another 8-10 minutes on the other side, until it’s fully cooked and golden brown on both sides.
### Step 8: Serve and Enjoy
Once the bread is fully cooked, remove it from the pan and let it cool slightly before slicing. Serve it warm with butter, jam, or any topping of your choice.
—
## Variations and Customizations
While the basic recipe is simple and delicious on its own, you can experiment with different flavors and ingredients to suit your tastes. Here are some ideas for customizing your **No-Oven Stovetop Bread**:
### 1. **Herbed Stovetop Bread**
Add fresh herbs like rosemary, thyme, or basil to the dough for a fragrant, savory twist. You can mix them directly into the dough or sprinkle them on top before cooking.
### 2. **Cheese-Stuffed Bread**
For a cheesy variation, fold in grated cheese (such as cheddar, mozzarella, or parmesan) into the dough before shaping it. This will melt inside the bread, creating a gooey, cheesy interior.
### 3. **Sweet Stovetop Bread**
Add a teaspoon of **cinnamon** and a handful of **raisins** or **chopped nuts** to make a sweeter version of this bread. Drizzle a bit of honey or maple syrup on top when serving for extra sweetness.
### 4. **Gluten-Free Stovetop Bread**
You can make this recipe gluten-free by using a gluten-free flour blend in place of all-purpose flour. Be sure to check that your baking powder is gluten-free as well.
—
## Conclusion
The **No-Oven Stovetop Bread** is an incredibly simple and versatile recipe that is perfect for anyone who loves fresh bread but doesn’t want to deal with the hassle of baking it in the oven. With just a few ingredients and minimal equipment, you can create a loaf that’s crispy on the outside and soft on the inside, all without ever turning on your oven.
Whether you’re looking for a quick bread option for breakfast, a delicious side for dinner, or a fun baking project, this stovetop bread recipe is sure to impress. With endless customization options, it’s a recipe you’ll want to keep in your back pocket for years to come. So, don’t lose this recipe—it’s a game-changer for home bakers everywhere!
ADVERTISEMENT
ADVERTISEMENT
