ADVERTISEMENT
#### **5. Cheese Press**
A **cheese press** applies even pressure to the curds, helping them expel excess whey and become firmer. This tool is optional if you’re making a small batch, but it’s recommended for a more professional result.
#### **6. Knife or Curved Slicing Tool**
Once the curds have formed, you’ll need to cut them into small pieces. A sharp **curd knife** is ideal for this purpose.
#### **7. Large Strainer or Colander**
A strainer or colander helps separate the curds from the whey when you’re draining the cheese.
—
### **6. Step-by-Step Guide to Making Havarti Dill Cheese**
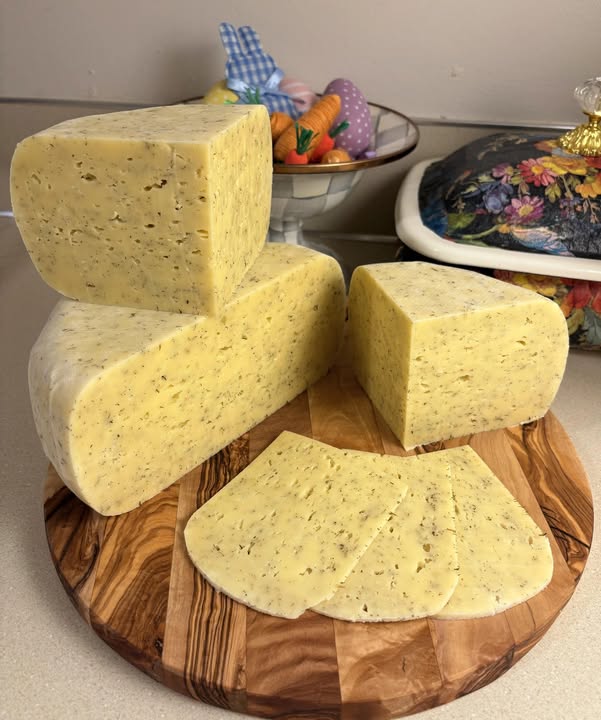
Now that you have your ingredients and equipment ready, it’s time to make your **Homemade Havarti Dill Cheese**. This process involves several key steps, but don’t be intimidated! With patience and attention to detail, you’ll soon have a batch of delicious, fresh cheese to enjoy.
#### **Step 1: Heat the Milk**
Pour the whole milk into your large pot and heat it slowly over medium heat until it reaches **85°F (29°C)**. Stir the milk occasionally to prevent it from scorching. Once the milk has reached the target temperature, remove it from the heat.
#### **Step 2: Add the Starter Culture**
Sprinkle the mesophilic starter culture over the surface of the milk. Let it sit for a minute or two to rehydrate, then stir gently to combine. Allow the milk to sit undisturbed for 45 minutes to an hour, letting the culture work its magic.
#### **Step 3: Add Rennet**
Dissolve the rennet in a small amount of water and add it to the milk. Stir gently for about 30 seconds, then cover the pot and allow the milk to sit undisturbed for 45 minutes to an hour. During this time, the milk will coagulate, forming curds.
#### **Step 4: Cut the Curds**
Once the milk has coagulated, you should be able to cut the curd into small pieces using a curd knife or a long, sharp knife. The curds should be about **1/2 inch** in size. Allow the curds to rest for about 10 minutes before continuing.
#### **Step 5: Cook the Curds**
Gently heat the curds to **125°F (52°C)**, stirring occasionally to prevent clumping. This process will help the curds expel more whey and firm up. Once the curds have reached the desired temperature, maintain it for about 30 minutes, stirring occasionally.
**Step 6: Drain the Curds**
Once the curds are firm and have expelled most of their whey, place them in a colander lined with cheesecloth to drain. Allow the curds to drain for about 15-20 minutes, then transfer them into your cheese mold.
For Complete Cooking STEPS Please Head On Over To Next Page Or Open button (>) and don’t forget to SHARE with your Facebook friends
