ADVERTISEMENT
#### **Instructions:**
**Step 1: Activate the Yeast**
– In a small bowl, dissolve the sugar in warm water. Sprinkle the yeast over the water and let it sit for about 5-10 minutes, or until it becomes frothy. This step is crucial for ensuring that the yeast is active and ready to make the dough rise.
**Step 2: Mix the Dough**
– In a large bowl, combine the flour and salt. Make a well in the center and pour in the yeast mixture, melted butter (or oil), and milk (if using). Stir with a wooden spoon or a dough hook attachment on a stand mixer until the dough starts to come together.
**Step 3: Knead the Dough**
– Once the dough has come together, turn it out onto a lightly floured surface. Knead the dough by pushing it away from you with the heels of your hands, folding it over, and repeating. Continue kneading for about 8-10 minutes, or until the dough becomes smooth, elastic, and slightly tacky. If the dough feels too sticky, sprinkle in a little more flour as you knead.
If you’re using a stand mixer, knead the dough with the dough hook attachment on low speed for about 5-6 minutes until it reaches the desired consistency.
**Step 4: Let the Dough Rise**
– Shape the dough into a ball and place it in a lightly oiled bowl. Cover the bowl with a damp cloth or plastic wrap and let the dough rise in a warm place for 1-1.5 hours, or until it has doubled in size. This is the first rise, and it’s crucial for developing the structure and texture of the bread.
**Step 5: Shape the Dough**
– Once the dough has risen, punch it down gently to release any air bubbles. Turn the dough out onto a floured surface and shape it into a rectangle. Fold in the edges and roll the dough tightly into a loaf shape, pinching the seams to seal it.
**Step 6: Second Rise**
– Place the shaped dough into a greased 9×5-inch loaf pan. Cover it again with a damp cloth and let it rise for another 30-45 minutes, or until the dough has risen slightly above the edge of the pan.
**Step 7: Preheat the Oven**
– While the dough is undergoing its second rise, preheat the oven to 350°F (175°C). This temperature is ideal for baking sandwich bread, as it allows the bread to rise properly and bake evenly.
**Step 8: Bake the Bread**
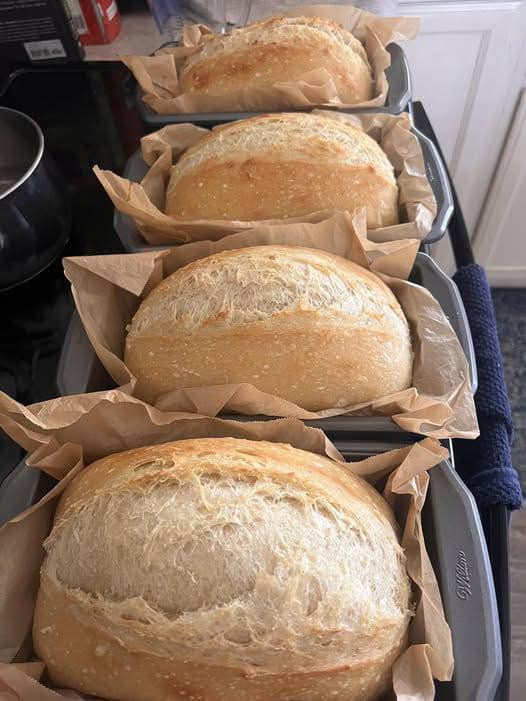
– Once the dough has risen, place the loaf pan in the preheated oven and bake for 25-30 minutes, or until the top of the loaf is golden brown and sounds hollow when tapped. If you have a kitchen thermometer, the internal temperature of the bread should reach around 190°F (88°C).
**Step 9: Cool and Slice**
– Remove the bread from the oven and let it cool in the pan for about 10 minutes. Then, turn it out onto a wire rack to cool completely. This step is essential, as it allows the steam to escape, resulting in a better texture and flavor.
– Once the bread has cooled, slice it with a serrated knife and enjoy!
### **Tips for Perfect Sandwich Bread**
– **Use Room Temperature Ingredients:** Using ingredients that are at room temperature, such as butter and milk, helps ensure even mixing and smoother dough formation.
– **Don’t Overwork the Dough:** While kneading is crucial for developing the gluten, overworking the dough can result in a tough loaf. Be sure to knead the dough just enough to achieve the right consistency.
– **Add Flavor Variations:** Experiment with flavor variations by adding herbs, garlic, or cheese to the dough before the second rise. This will add a delicious twist to your sandwich bread.
– **Let It Cool Completely:** Allow the bread to cool completely before slicing it. Slicing while the bread is still hot can result in a gummy texture.
### **Troubleshooting Common Issues**
– **Bread Doesn’t Rise Properly:** This could be due to expired yeast or water that’s too hot or too cold. Always ensure that the yeast is fresh and the water temperature is within the optimal range.
– **Dense or Heavy Bread:** This can happen if the dough was overworked, or if too much flour was added during kneading. The dough should be soft and slightly tacky, not stiff.
– **Soggy Bread:** If your bread has a wet or soggy texture, this may be due to too much moisture in the dough. Be sure to measure your ingredients accurately, especially when using milk or water.
### **Conclusion: Mastering Homemade Sandwich Bread**
Making your own sandwich bread is a rewarding and fun experience, and once you master the basic recipe, you can experiment with flavors and techniques to create a loaf that is truly your own. Homemade sandwich bread is far superior to store-bought versions, and the freshness, texture, and flavor are unmatched.
With a little practice, you’ll be able to create the perfect loaf of sandwich bread every time—whether you’re making simple sandwiches, toasting slices for breakfast, or crafting gourmet grilled cheese. There’s nothing like the taste and satisfaction of homemade bread, and with this guide, you have everything you need to succeed.
So, next time you’re craving the perfect
sandwich, skip the store and bake your own sandwich bread from scratch. Your taste buds will thank you!
