ADVERTISEMENT
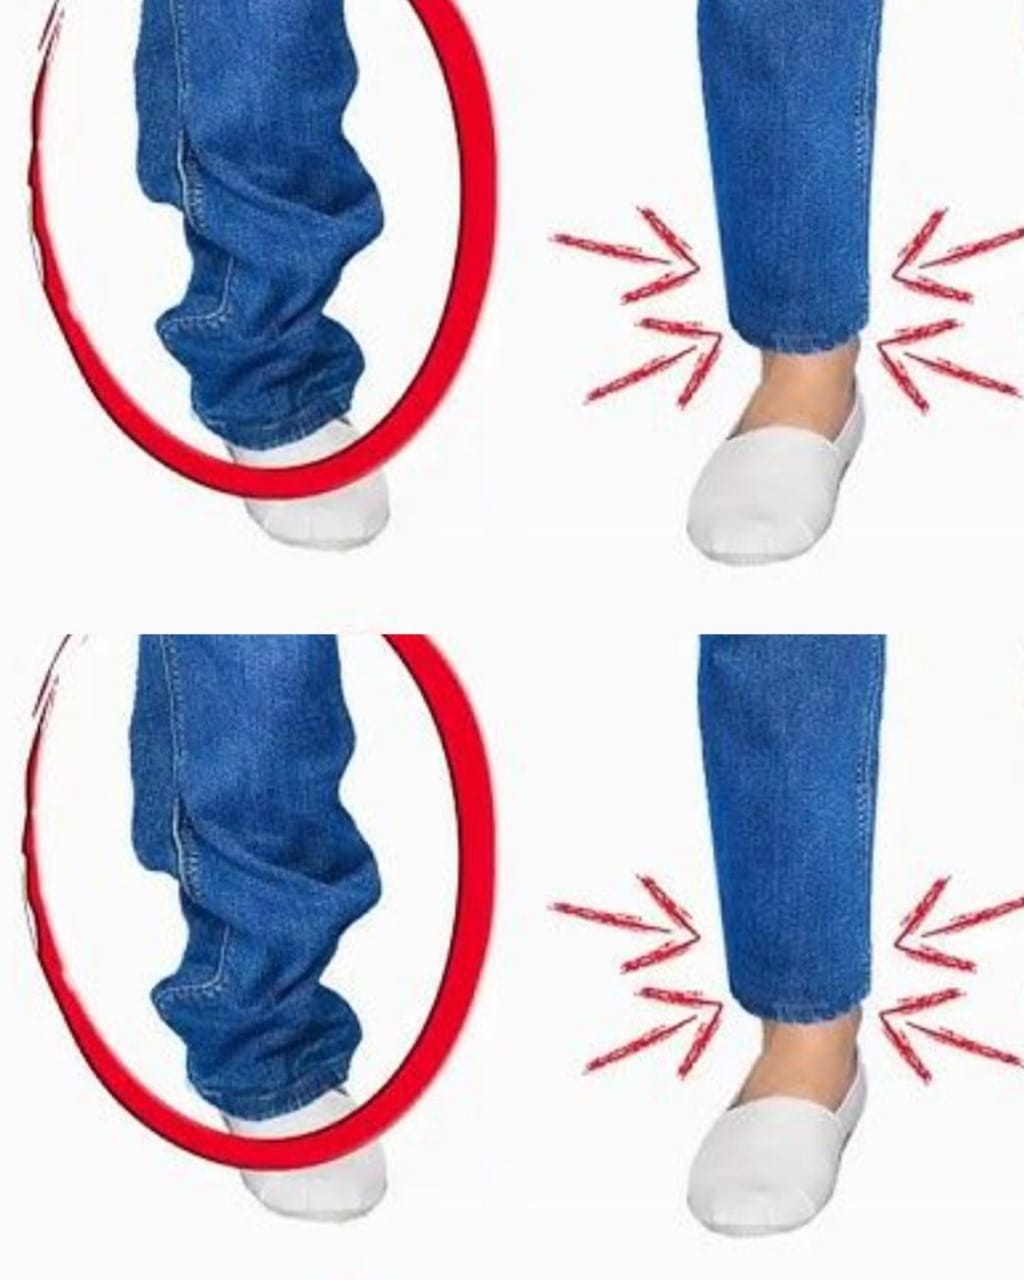
Shorten Jeans Like a Pro — Even If You Can’t Sew!
Have you ever bought a pair of jeans that you absolutely love, only to find out they’re way too long? Or maybe you’ve inherited a pair that’s the perfect fit everywhere — except for the length. While some may automatically assume they need to bust out the sewing kit, or take their jeans to a tailor, there’s an easier way to shorten your jeans without any sewing skills! Yes, you read that right — no sewing needed!
This clever trick will save you time, effort, and money. So, if you’ve ever wondered how to shorten jeans quickly and easily, here’s the step-by-step guide to making your jeans fit perfectly without the need for a sewing machine.
Why You Don’t Need to Sew
While shortening jeans by hand or with a sewing machine is definitely an option, it can be time-consuming and require some skills you might not have. Thankfully, there’s a simple method using just a pair of scissors, fabric adhesive, and some basic tools that can help you get your jeans the perfect length — without any sewing!
This method is ideal if you’re in a rush, or if you’re just not the crafty, sewing type. Plus, it’s a budget-friendly alternative to getting your jeans professionally hemmed.
What You’ll Need:
- A pair of jeans (obviously!)
- Fabric scissors – Sharp scissors will help you get a clean cut.
- Fabric adhesive (such as fabric glue or fusible bonding tape) – This will hold the fabric in place without the need for stitching.
- Iron and ironing board – If you’re using fusible bonding tape, you’ll need an iron to activate the adhesive.
- Measuring tape or ruler – To ensure you shorten the jeans evenly and accurately.
- Chalk or fabric marker – To mark the length you want to cut.
- Pins (optional) – To hold the hem in place temporarily while the adhesive sets.
Step-by-Step Instructions:
1. Try the Jeans On
Before you make any cuts, put on your jeans and determine the length you want. Stand in front of a mirror and figure out where you’d like the hem to fall. This could be at your ankle or just above, depending on your style preference.
2. Mark the New Hemline
Once you’ve figured out the desired length, use a fabric chalk or marker to draw a straight line across both legs. This will serve as your guide for where to cut. To ensure an even hem, it’s helpful to measure the same distance from the floor on both legs.
3. Add Extra for the Hem
When you’re marking the jeans, be sure to add about 1 inch to the length you want for the hem. This extra fabric will be folded under to create a neat, finished edge.
4. Cut the Jeans
Using your sharp fabric scissors, carefully cut along the chalk or marker line. Be sure to cut slowly and steadily for the cleanest edge. If your jeans have a frayed or distressed look, you can also leave the cut edge a little raw for a trendy, unfinished look.
5. Fold the Hem
Next, fold the raw edge up about 1 inch (or the extra fabric you left when marking the hem). Press the fold with an iron to create a sharp crease. This will give the hem a clean, crisp appearance once you glue it in place.
6. Apply Fabric Adhesive
There are two options for this step, depending on which adhesive you’re using:
- Fusible Bonding Tape: If you’re using fusible bonding tape, place a strip of the tape along the folded edge. Then, use an iron (on a low setting) to activate the adhesive, following the manufacturer’s instructions. The heat will melt the tape and bond the fabric together.
- Fabric Glue: If you’re using fabric glue, carefully apply a thin line of glue along the inside of the folded hem. Make sure the glue is spread evenly and press the fold down firmly to secure it in place. Hold it for a few seconds until it sticks.
7. Let It Dry
If you’re using fabric glue, allow the hem to dry for th
