ADVERTISEMENT
Step 1: Measure the Desired Length
First, put on the pants and decide how much you want to shorten them. Use a measuring tape to measure from the floor to the point on your pants where you want the hem to fall. Make sure to stand in a natural, relaxed position when measuring. Mark the desired length with a small piece of chalk or a fabric marker.
Once you’ve decided on the right length, remove the pants and lay them flat on a surface. Use your measuring tape to mark an even line all the way across the bottom of each pant leg. Be sure that the markings are straight and even on both legs to ensure your pants look balanced.
Step 2: Cut the Excess Fabric
After measuring and marking the pants, it’s time to cut off the excess fabric. Leave about 1 to 1.5 inches of extra fabric below the marked line. This will allow enough fabric for the hem. Use sharp scissors to carefully cut along the line, ensuring a clean, straight edge.
If your pants already have a hem, you may need to use a seam ripper to carefully remove the old hem before cutting. Be gentle to avoid damaging the fabric.
Step 3: Fold and Pin the Hem
Now, fold the raw edge of the pants up by about 1 inch (or to your desired hem size). Use pins to hold the folded fabric in place. Make sure the hem is even all the way around each leg. If the fabric is stubborn, you can lightly iron the fold to create a crease that will make the process easier. Ironing will also help keep the hem in place as you sew.
Step 4: Sew the Hem
With the hem pinned in place, it’s time to sew. You can either hand-sew the hem with a needle and thread or use a sewing machine if you have one. If you’re hand-sewing, use a whip stitch or blind stitch to make the stitching as invisible as possible on the outside of the pants.
If you’re using a sewing machine, set it to a straight stitch with a matching thread. Begin sewing just below the fold, making sure your stitches are straight and even. Sew all the way around the pants, being careful to keep the fabric from bunching up. Backstitch at the start and end to secure the stitches.
Step 5: Press the Hem
Once the hem is sewn, remove the pins and use an iron to press the hem flat. This will help set the fold and give the hem a professional finish. Set your iron to the appropriate setting for the fabric of your pants (usually medium heat for cotton or low heat for delicate fabrics) and gently press along the hemline.
Step 6: Try Them On
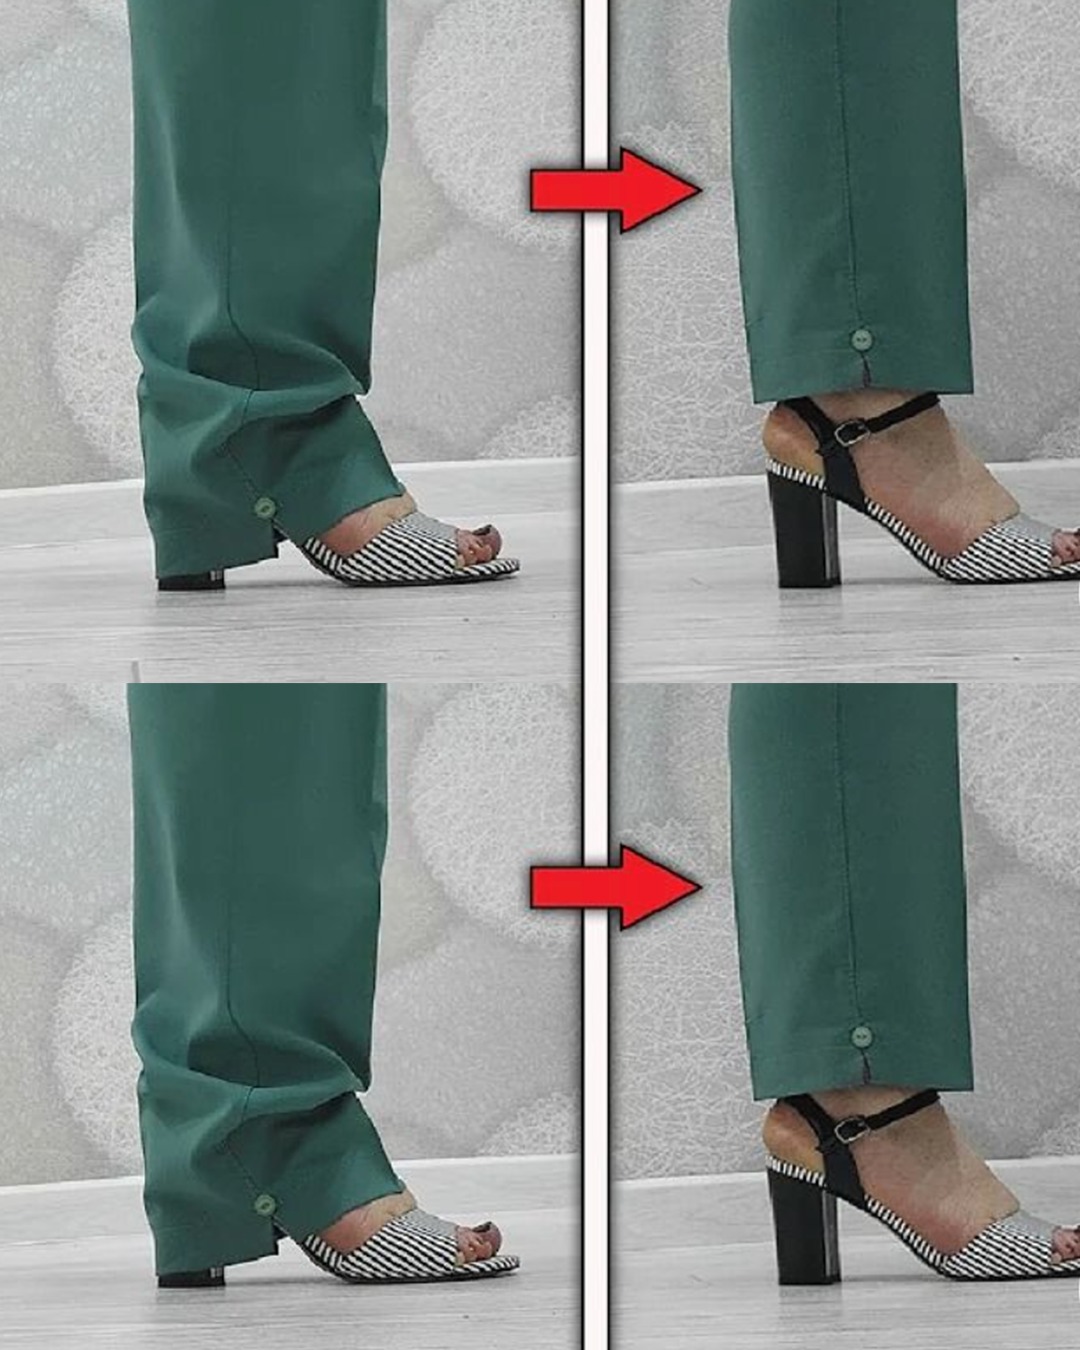
Finally, try the pants on to make sure the hem is the right length and looks even. If needed, make small adjustments and re-iron the hem.
Why Shorten Pants at Home?
1. Saves Money
Tailors can charge a significant fee for simple tasks like hemming pants, especially if you have multiple pairs that need alteration. By shortening your pants yourself, you can save that money for other clothing items or accessories.
2. Saves Time
Getting an appointment with a tailor can sometimes take weeks, and then you have to wait for your pants to be ready. Hemming your pants at home only takes about an hour, so you can have them ready to wear the same day.
3. Personal Satisfaction
There’s something incredibly satisfying about making your own alterations. Plus, once you’ve mastered the basics of hemming pants, you’ll feel more confident tackling other DIY projects.
4. Custom Fit
When you hem your pants yourself, you can be sure that the length is exactly how you like it. No need to rely on someone else’s measurements—you can adjust it to your personal preference.
5. Convenience
No need to leave the house! If you’re in a rush or simply want to get it done quickly, hemming pants at home allows you to complete the project at your own pace, whenever it’s convenient for you.
Tips for Success:
- Use Matching Thread: If you’re using a sewing machine or hand-stitching, choose a thread color that matches your pants as closely as possible for a seamless look.
- Double-Check the Length: Before cutting, double-check your measurements to ensure you’re shortening the pants to your desired length.
- Practice First: If you’re new to sewing, practice on an old pair of pants or scrap fabric first to get the hang of the stitching technique.
- Use Fabric Glue: If you’re in a rush or don’t want to sew, you can use fabric glue to hold the hem in place temporarily. Just be sure to press the hem well and allow it to dry completely.
Final Thoughts:
Shortening your pants at home is a simple and cost-effective way to ensure your clothes fit perfectly and look great. With just a needle, thread, and a measuring tape, you can transform your too-long pants into a pair of custom-fitted trousers. Whether you’re new to sewing or an experienced pro, this is a handy skill that can save you both time and money. So, grab your materials, follow these easy steps, and soon you’ll have pants that fit just right—all done from the comfort of your own home!
