ADVERTISEMENT
**Instructions:**
#### **Step 1: Activate the Yeast**
– In a large mixing bowl, combine the warm milk and sugar. Stir until the sugar is dissolved.
– Sprinkle the instant yeast over the milk and let it sit for about 5 minutes. The yeast should begin to bubble and foam, signaling that it’s active and ready to use.
#### **Step 2: Mix the Dough**
– To the yeast mixture, add the eggs, melted butter, and salt. Stir to combine.
– Gradually add the flour, 1/2 cup at a time, stirring with a wooden spoon or spatula after each addition. Once the dough begins to come together, switch to your hands or a dough hook if using a stand mixer.
#### **Step 3: Knead the Dough**
– If you’re kneading by hand, turn the dough onto a lightly floured surface. Knead the dough for about 8-10 minutes, or until it becomes smooth, elastic, and slightly tacky to the touch. If using a stand mixer, knead with the dough hook attachment on medium speed for 5-6 minutes.
– Once kneaded, form the dough into a ball and place it in a lightly greased bowl. Cover the bowl with a clean kitchen towel or plastic wrap.
#### **Step 4: Let the Dough Rise**
– Allow the dough to rise in a warm place for about 1-1.5 hours or until it has doubled in size. You can speed up the process by placing the bowl in a warm oven (with just the light on) or near a heat source.
#### **Step 5: Shape the Rolls**
– After the dough has risen, punch it down to release the air. Turn it out onto a floured surface and divide the dough into 12-16 equal portions, depending on the size of rolls you prefer.
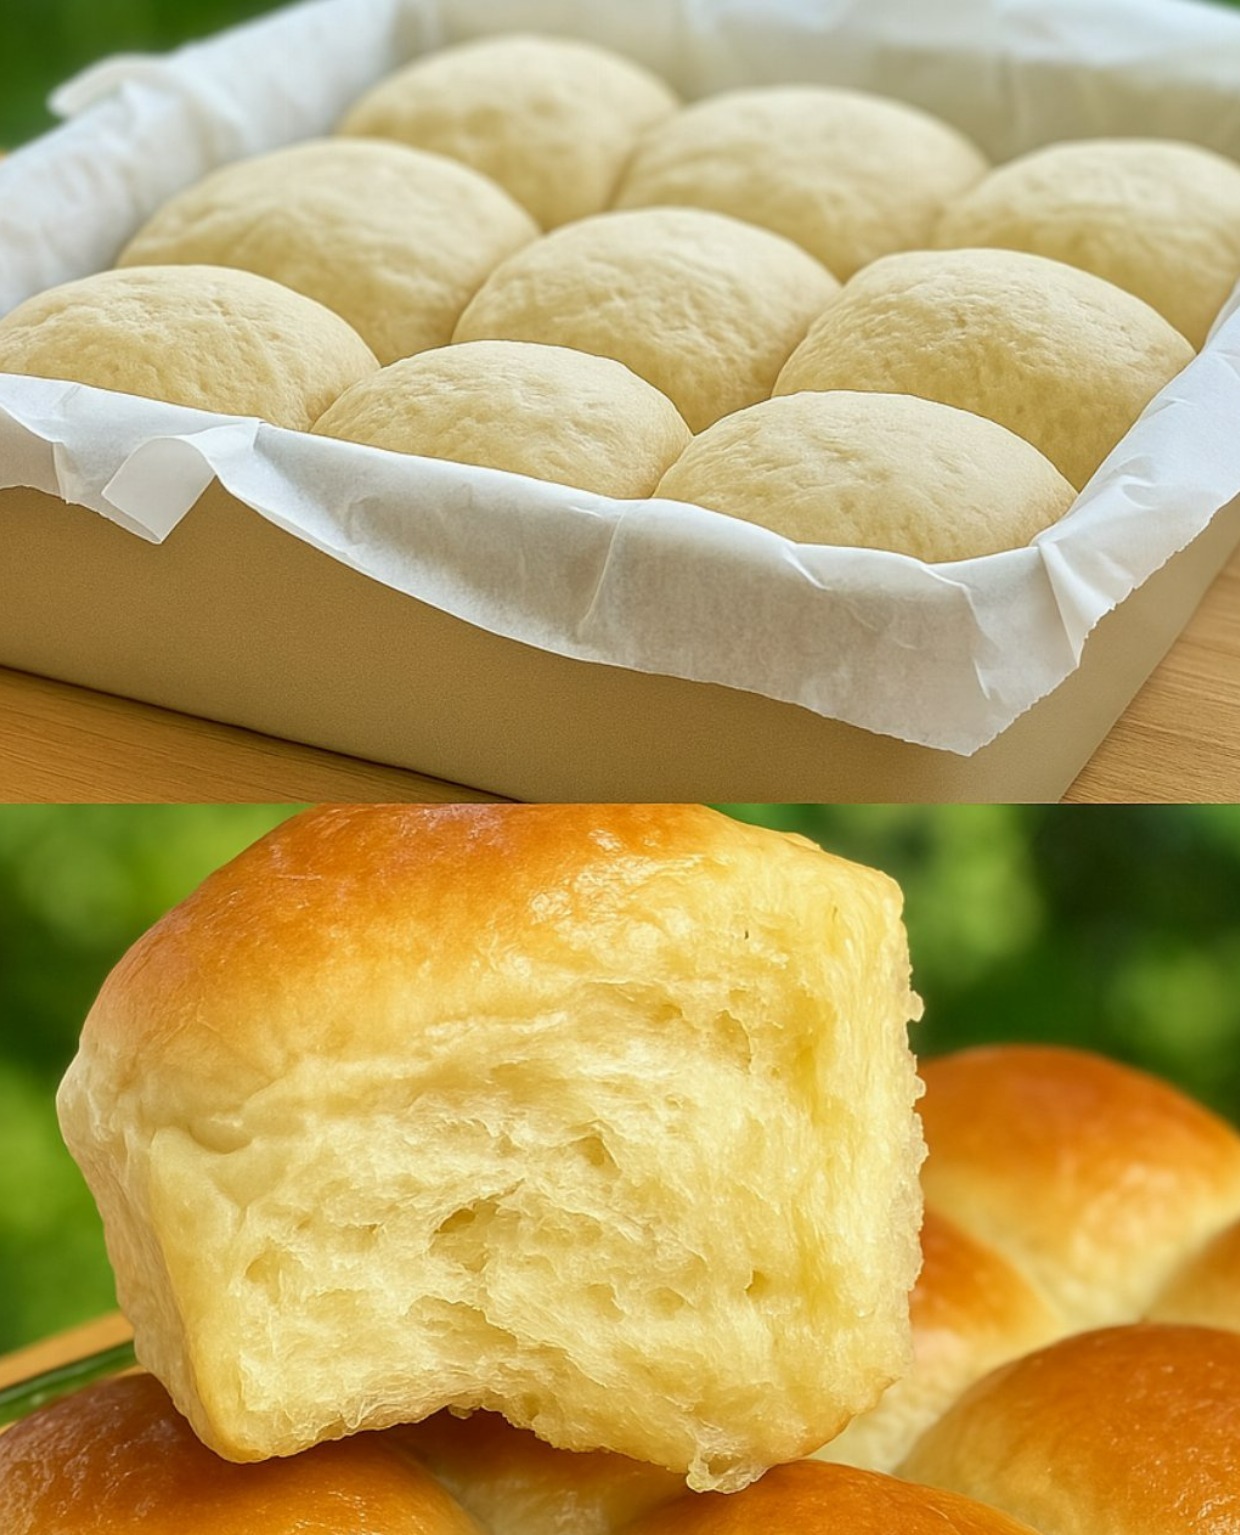
– Roll each portion into a ball and place the rolls in a greased 9×13-inch baking dish. Arrange them so that they are just touching each other.
#### **Step 6: Let the Rolls Rise Again**
– Cover the baking dish with a kitchen towel and let the rolls rise again for 30-45 minutes, or until they are puffed up and touching each other. This second rise will result in soft, fluffy rolls.
#### **Step 7: Bake the Rolls**
– Preheat your oven to 350°F (175°C) while the rolls are rising.
– Once the rolls have risen, place the dish in the oven and bake for 20-25 minutes, or until the rolls are golden brown on top.
– To check for doneness, tap the top of the rolls lightly; they should sound hollow.
#### **Step 8: Brush with Butter**
– As soon as the rolls come out of the oven, brush the tops with melted butter. This will give them a shiny, buttery finish and enhance the flavor.
– Allow the rolls to cool for a few minutes before serving. If you can resist, wait until they’re slightly warm for the ultimate experience!
—
### **Serving and Storing Your Rolls**
**Serving Suggestions:**
These soft and buttery rolls can be served in a variety of ways:
– **As a side**: Serve them alongside your favorite soups, stews, or pasta dishes.
– **For breakfast**: Spread them with butter, jam, honey, or Nutella for a delicious morning treat.
– **For sandwiches**: Use these rolls as the base for a hearty sandwich, filled with meats, cheeses, and your favorite condiments.
– **For special occasions**: These rolls make an excellent addition to holiday dinners, family gatherings, and special celebrations.
**Storing Your Rolls:**
If you have leftovers, store the rolls in an airtight container at room temperature for up to 2-3 days. They can also be stored in the fridge for up to a week. To keep them fresh, reheat them in the oven for a few minutes before serving.
For longer storage, freeze the rolls after they’ve cooled completely. Wrap them tightly in plastic wrap and place them in a freezer-safe bag. To thaw, simply leave them at room temperature for a few hours or reheat them in the oven.
—
### **Conclusion: The Joy of Homemade Soft and Buttery Rolls**
Making homemade rolls doesn’t have to be intimidating. With a simple recipe and a few key ingredients, you can create soft, buttery rolls that are a true crowd-pleaser. Whether you’re baking for a family dinner, a holiday celebration, or just because, these rolls will never disappoint.
The secret to these rolls lies in the balance of ingredients and the right technique—soft flour, creamy butter, and the right touch of yeast. The process is easy to follow, and the result is nothing short of divine. So, roll up your sleeves, preheat your oven, and get ready to enjoy the warm, comforting aroma of freshly baked rolls filling your home.
Happy baking!
