ADVERTISEMENT
### **How to Make Spinach & Ricotta Stuffed Shells: Step-by-Step Guide**
Now that we’ve covered the ingredients and what makes this dish so special, let’s dive into the preparation. Follow these simple steps to make **Spinach & Ricotta Stuffed Shells** from scratch:
#### **Step 1: Cook the Pasta Shells**
Begin by cooking the jumbo pasta shells according to the package instructions. Be sure to cook them just until al dente—overcooking them can cause the shells to become too soft and fragile when stuffed. Once cooked, drain the shells and set them aside to cool slightly. You may also want to drizzle them with a little olive oil to prevent them from sticking together.
#### **Step 2: Prepare the Spinach**
If using fresh spinach, wash the leaves thoroughly, then cook them in a large skillet over medium heat until wilted, which should only take a few minutes. Once cooked, squeeze out any excess moisture and chop the spinach into smaller pieces.
If using frozen spinach, thaw the spinach and squeeze out any remaining water to prevent the filling from becoming too watery.
#### **Step 3: Make the Filling**
In a large mixing bowl, combine the ricotta cheese, chopped spinach, half of the shredded mozzarella, grated Parmesan cheese, garlic, and herbs (basil, oregano, salt, and pepper). Stir everything together until well combined. Taste the filling and adjust the seasoning as needed.
#### **Step 4: Stuff the Shells**
Using a spoon, stuff each cooked pasta shell with the spinach-ricotta mixture. Be generous with the filling to ensure each shell is fully packed.
#### **Step 5: Assemble the Dish**
Spread a thin layer of marinara sauce in the bottom of a baking dish. Arrange the stuffed pasta shells in the dish, making sure they’re snug but not overcrowded. Once all the shells are in place, pour the remaining marinara sauce over the top. Sprinkle the remaining mozzarella cheese and Parmesan cheese over the sauce.
#### **Step 6: Bake**
Cover the baking dish with foil and bake at 375°F (190°C) for 25 minutes. After 25 minutes, remove the foil and bake for an additional 10 minutes, or until the cheese is bubbly and golden brown.
#### **Step 7: Serve and Enjoy**
Let the stuffed shells cool for a few minutes before serving. Garnish with fresh basil or parsley, and serve with a side of garlic bread or a simple green salad.
—
### **Variations of Spinach & Ricotta Stuffed Shells**
While the classic spinach and ricotta filling is already delicious, there are many ways to customize this dish to suit your tastes or dietary preferences. Here are a few variations you can try:
#### **1. Add Meat**
For those who prefer a heartier dish, you can add **ground beef**, **sausage**, or **ground turkey** to the ricotta-spinach filling. Simply cook the meat beforehand, then mix it into the ricotta and spinach before stuffing the shells.
#### **2. Use Different Greens**
Spinach isn’t the only green that works well in stuffed shells. You can substitute spinach with other leafy greens such as **kale**, **chard**, or **arugula**. These greens offer different textures and flavors that can add variety to the dish.
#### **3. Vegan Version**
For a vegan version of **Spinach & Ricotta Stuffed Shells**, simply swap out the ricotta for a plant-based alternative, such as **tofu ricotta** or **cashew cheese**. You can also use vegan mozzarella and Parmesan cheese to complete the dish.
—
### **Conclusion**
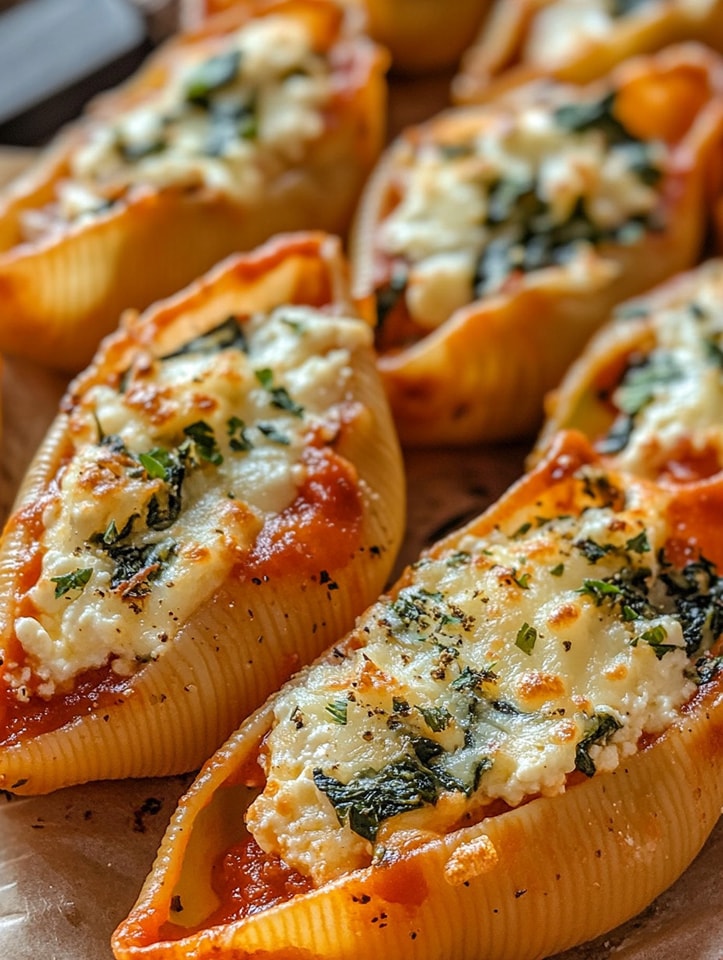
**Spinach & Ricotta Stuffed Shells** are the epitome of comfort food—delicious, hearty, and packed with flavor. This dish combines the richness of ricotta cheese, the earthiness of spinach, and the savory goodness of marinara sauce, making it a perfect choice for family meals, gatherings, or a cozy dinner at home. With its creamy filling, cheesy topping, and satisfying texture, **Spinach & Ricotta Stuffed Shells** are sure to become a beloved staple in your culinary repertoire.
Whether you’re making it for the first time or have already mastered the recipe, this dish offers endless opportunities for customization, allowing you to tailor it to your preferences. So gather your ingredients, preheat your oven, and get ready to indulge in a classic Italian meal that’s as comforting as it is delicious. Enjoy!
