ADVERTISEMENT
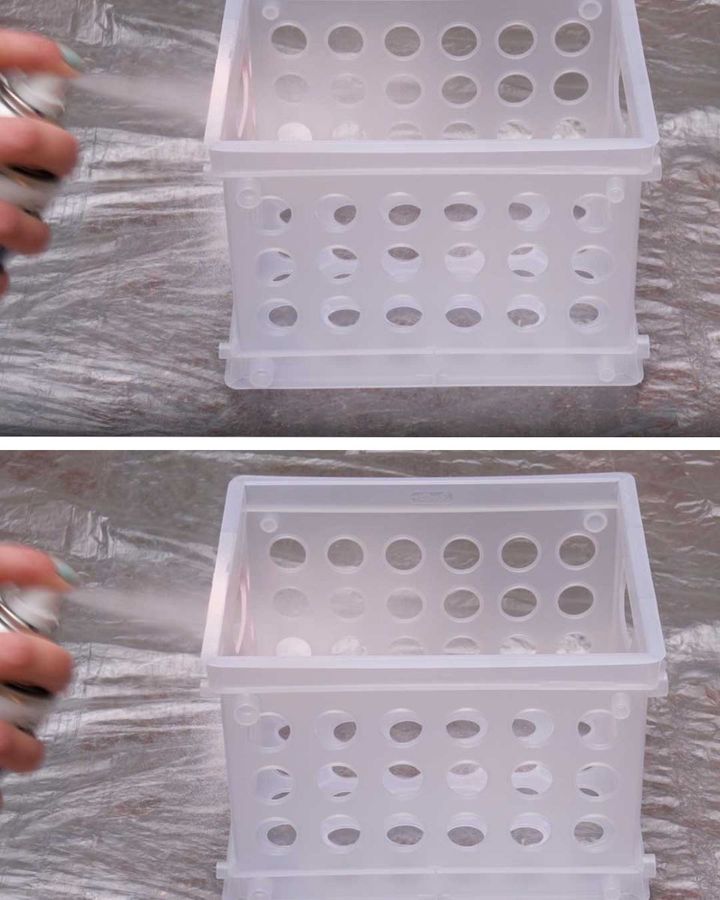
k, white, or a metallic finish like gold or silver. If you want a more rustic or vintage-inspired look, consider muted tones like navy blue, forest green, or even soft pastels. You can also experiment with two-tone designs by using painter’s tape to create geometric patterns or accent stripes.
5. Let the Paint Dry
After you’ve applied the final coat of paint, allow the crates to dry completely. This could take anywhere from 1-4 hours, depending on the type of spray paint and the humidity. Make sure the crates are fully dry before handling them to avoid smudging or damaging the finish.
6. Apply Clear Sealer (Optional)
To give your painted crates a durable, long-lasting finish, apply a clear sealer or topcoat. This step is particularly useful if your crates will be exposed to wear and tear, like in a high-traffic area or outdoors. The sealer adds a glossy finish and protects the paint from fading or chipping over time.
7. Get Creative with Usage
Now that your plastic crates are beautifully painted, it’s time to put them to good use! Here are a few ideas for incorporating your newly transformed crates into your decor:
- Storage Solutions: Stack them to create an affordable and stylish storage unit for books, shoes, or toys. You can even add some cute fabric liners to soften the look and make them feel more polished.
- Wall Shelves: Secure a few crates to the wall to create floating shelves. This is a great way to display plants, framed photos, or other small decor items.
- Planters: Use your painted crates as outdoor planters or herb gardens. The open sides allow for good airflow and drainage, which is ideal for plant health.
- Side Tables: Stack two or three crates and add a simple wooden board on top to create a unique side table or nightstand.
- Entryway Organizer: Place a painted crate in your entryway to hold keys, mail, or shoes. It’s a functional yet stylish addition to your space.
Tips for Getting the Best Results
- Choose the Right Spray Paint: Make sure you use spray paint designed for plastic surfaces. These paints have special formulas that adhere better to plastic and provide a smoother finish.
- Use Multiple Thin Coats: For the best coverage and finish, always apply multiple thin coats of spray paint instead of one thick coat. This helps prevent drips and ensures even color distribution.
- Go Bold or Subtle: If you want your crates to stand out, go for bold, vibrant colors like turquoise or orange. For a more subdued look, neutral tones like gray, white, or beige will complement a minimalist style.
- Add Some Texture: For extra flair, consider using texture spray paints like a hammered or stone finish to give your crates a more unique look.
Conclusion: Stylish Decor Without the Price Tag
With just a little creativity and some spray paint, you can turn basic plastic crates into chic and functional decor that looks great in any room of your home. This DIY project is not only easy and affordable, but it’s also highly customizable, allowing you to tailor the design to fit your personal style. From storage solutions to planters and shelving, painted plastic crates offer endless possibilities for enhancing your home decor on a budget.
So grab a can of spray paint and get started—your stylish new decor is just a few coats away!
Would you like more DIY decor ideas or tips for upcycling other household items? Feel free to ask!
