ADVERTISEMENT
### **What You’ll Need:**
– **1 liter (4 cups) of whole milk**: It’s important to use full-fat milk to get the best results, as it will yield a creamier, richer cheese. If possible, try to use milk that hasn’t been ultra-pasteurized, as this will provide a better curd formation.
– **2 tablespoons of lemon juice or vinegar**: The acid helps to curdle the milk and separates the curds from the whey. Lemon juice is the preferred option, as it adds a nice flavor to the cheese. If you prefer, you can use vinegar as well.
– **1/4 teaspoon of salt**: This is optional, but it will help enhance the flavor of the cheese. You can adjust the amount based on your taste.
– **Cheesecloth or muslin cloth**: This will be used to strain the curds and separate the whey from the cheese. It’s essential for ensuring the cheese forms properly and that you can squeeze out excess moisture.
– **A large saucepan**: To heat the milk and curdle it.
– **A slotted spoon**: For stirring and helping to separate the curds.
– **A bowl**: To catch the whey and hold the curds after they’ve been strained.
## **Step-by-Step Guide to Making Cheese at Home in 10 Minutes**
Now that you have all the necessary ingredients, let’s go through the simple steps to make fresh paneer. The entire process should take no more than 10 minutes of active work, though there’s a short resting period for the cheese to set properly.
### **Step 1: Heat the Milk**
Start by pouring the whole milk into a large saucepan. Place it over medium heat and stir occasionally to prevent the milk from sticking to the bottom of the pan. Allow the milk to come to a gentle boil. As it heats up, you’ll notice small bubbles forming around the edges of the pan.
### **Step 2: Add the Acid**
Once the milk reaches a boil, reduce the heat to low. Add the lemon juice (or vinegar) to the milk slowly, stirring gently as you do so. You should start to see the milk curdle immediately as the acid causes the milk proteins to separate into curds and whey. If the milk doesn’t curdle completely after a minute or two, add a little more lemon juice or vinegar, one teaspoon at a time, until the curds fully form.
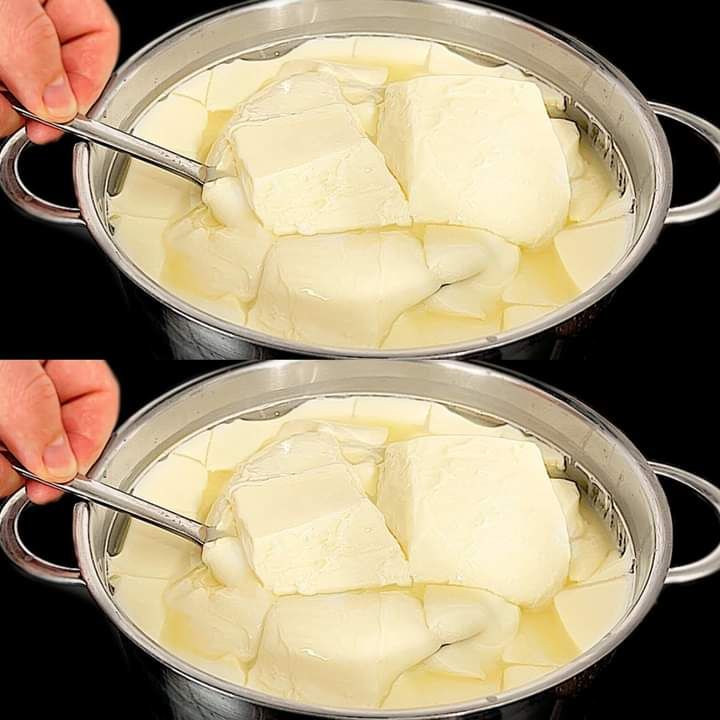
At this point, you’ll see the curds (the solid part) and the whey (the liquid part) separating. The curds should look lumpy and the whey should be clear or slightly yellowish.
### **Step 3: Remove from Heat**
Once the milk has fully curdled, remove the saucepan from the heat and let it sit for about 2 minutes. This resting period helps the curds settle, making it easier to strain them.
### **Step 4: Strain the Curds and Whey**
Place a clean cheesecloth or muslin cloth over a large bowl or sink to catch the whey. Using a slotted spoon, carefully transfer the curds to the cloth. Be gentle, as the curds will be hot at this point. Once all the curds have been transferred, gather the edges of the cloth and tie them together to form a pouch.
You can now hang the pouch over the sink or place it in a colander to allow the excess whey to drain off. Let the curds drain for 5 to 10 minutes. The longer you let the curds drain, the firmer your cheese will be. If you prefer a softer, creamier paneer, drain for a shorter amount of time.
### **Step 5: Shape the Paneer**
Once the curds have drained to your liking, you can shape the cheese. If you want a firmer, more traditional paneer, press the cloth bundle down with a heavy object, like a small pot or a can, to expel any remaining liquid. Let the cheese sit under the weight for 10-15 minutes to firm up. If you prefer a softer paneer, you can skip the pressing step and simply remove the cheese from the cloth once it has cooled.
After pressing, unwrap the cloth to reveal your fresh, homemade paneer! Cut it into cubes or slices, depending on how you plan to use it.
### **Step 6: Serve and Enjoy**
Now that your paneer is ready, you can enjoy it in a variety of ways. You can fry it, grill it, or even add it directly to curries, stews, and salads. If you’re feeling adventurous, you can marinate the paneer in spices or herbs before cooking it, adding another layer of flavor to your dish.
## **Creative Ways to Use Homemade Paneer**
Paneer is incredibly versatile and can be used in many different dishes. Here are some ideas to inspire you:
– **Paneer Tikka**: Marinate the paneer in a mixture of yogurt, spices, and herbs, then grill it or bake it for a delicious appetizer.
– **Paneer Butter Masala**: A classic Indian dish, where paneer is cooked in a rich tomato-based sauce with cream and spices.
– **Palak Paneer**: A flavorful spinach-based curry with soft cubes of paneer.
– **Paneer in Salads**: Add cubes of paneer to a fresh salad for a protein boost.
– **Grilled Paneer**: Skewer paneer cubes with vegetables and grill them for a delicious and healthy meal.
## **Conclusion**
Making cheese at home doesn’t have to be a long, complicated process. With just a few ingredients and 10 minutes of your time, you can create fresh, delicious paneer that is perfect for a variety of dishes. By following the simple steps outlined above, you can say goodbye to store-bought cheese and start enjoying the flavors and satisfaction of homemade cheese.
Not only is it cost-effective, but it also allows you to have full control over the ingredients, ensuring a fresh and clean product. So, the next time you’re in the kitchen, try making your own cheese — you won’t regret it!
