ADVERTISEMENT
Stop Buying Cherries in the Store: Grow Them at Home with This Step-by-Step Guide
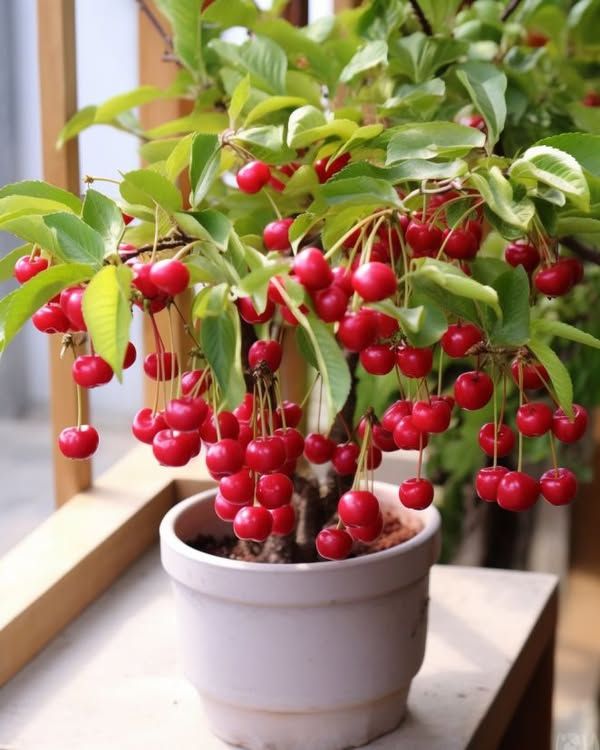
Cherries are one of the most delightful fruits of the summer season—sweet, juicy, and packed with antioxidants. But instead of constantly buying cherries from the store, why not try growing them at home? Not only will you have access to fresh, delicious cherries whenever you want, but you’ll also experience the satisfaction of harvesting fruit from your own garden. Plus, homegrown cherries can be far superior in taste and quality compared to store-bought varieties.
Growing cherries at home may seem like a daunting task, but with the right knowledge and tools, it’s easier than you think. Whether you have a spacious backyard or just a small garden space, you can grow cherries and enjoy them fresh off the tree.
In this guide, we’ll walk you through the essential steps of growing cherries at home—from choosing the right variety to harvesting your first crop. Let’s get started!
Step 1: Choose the Right Cherry Variety
The first step in growing cherries at home is choosing the right variety. There are two main types of cherries to consider:
- Sweet Cherries: These are the cherries you find in grocery stores, with a bright red or yellow color. Sweet cherries are great for snacking, baking, or making jams. Some popular sweet cherry varieties include Bing, Rainier, and Lapins.
- Sour (Tart) Cherries: These cherries are smaller and have a more tart, acidic taste, making them perfect for pies, jams, and other desserts. Varieties like Montmorency and Morello are common tart cherry types.
When choosing a variety, consider your climate and your taste preferences. Sweet cherries generally require a warmer climate, while sour cherries are more tolerant of colder temperatures.
Step 2: Select the Right Location
Cherries thrive in sunny spots, so choose a location in your garden that gets at least 6-8 hours of direct sunlight per day. Cherry trees also need well-drained soil, as standing water can lead to root rot. Make sure your soil has good drainage, and if it’s clay-heavy, consider amending it with organic matter like compost.
Before planting, ensure that the spot has enough space for your cherry tree to grow. Dwarf cherry trees require less space, while standard cherry trees can grow much larger—up to 15-20 feet tall or more. Be sure to leave enough room between trees (around 12-15 feet) if you plan to plant multiple cherry trees.
Step 3: Plant Your Cherry Tree
The best time to plant a cherry tree is in early spring or fall when the tree is dormant. Follow these steps for planting:
- Prepare the Planting Hole: Dig a hole that’s about 2-3 times the width of the tree’s root ball and deep enough to accommodate the roots without crowding them. The top of the root ball should sit level with the surrounding soil.
- Add Organic Matter: Mix some organic compost into the soil to give your cherry tree a nutrient-rich environment. This will help the tree establish strong roots.
- Place the Tree: Gently remove the cherry tree from its container and place it into the hole. Be careful not to damage the roots. Ensure the tree is standing upright and centered in the hole.
- Fill the Hole: Backfill the hole with soil, gently patting it down as you go to remove air pockets. Water the tree well after planting to settle the soil around the roots.
- Mulch: Apply a layer of mulch (about 2-3 inches) around the base of the tree to help retain moisture, suppress weeds, and regulate soil temperature.
Step 4: Care for Your Cherry Tree
Proper care is essential for healthy growth and a bountiful harvest. Here are the key things to keep in mind:
- Watering: Cherry trees need regular watering, especially during dry spells. Water deeply to encourage deep root growth, but avo
