ADVERTISEMENT
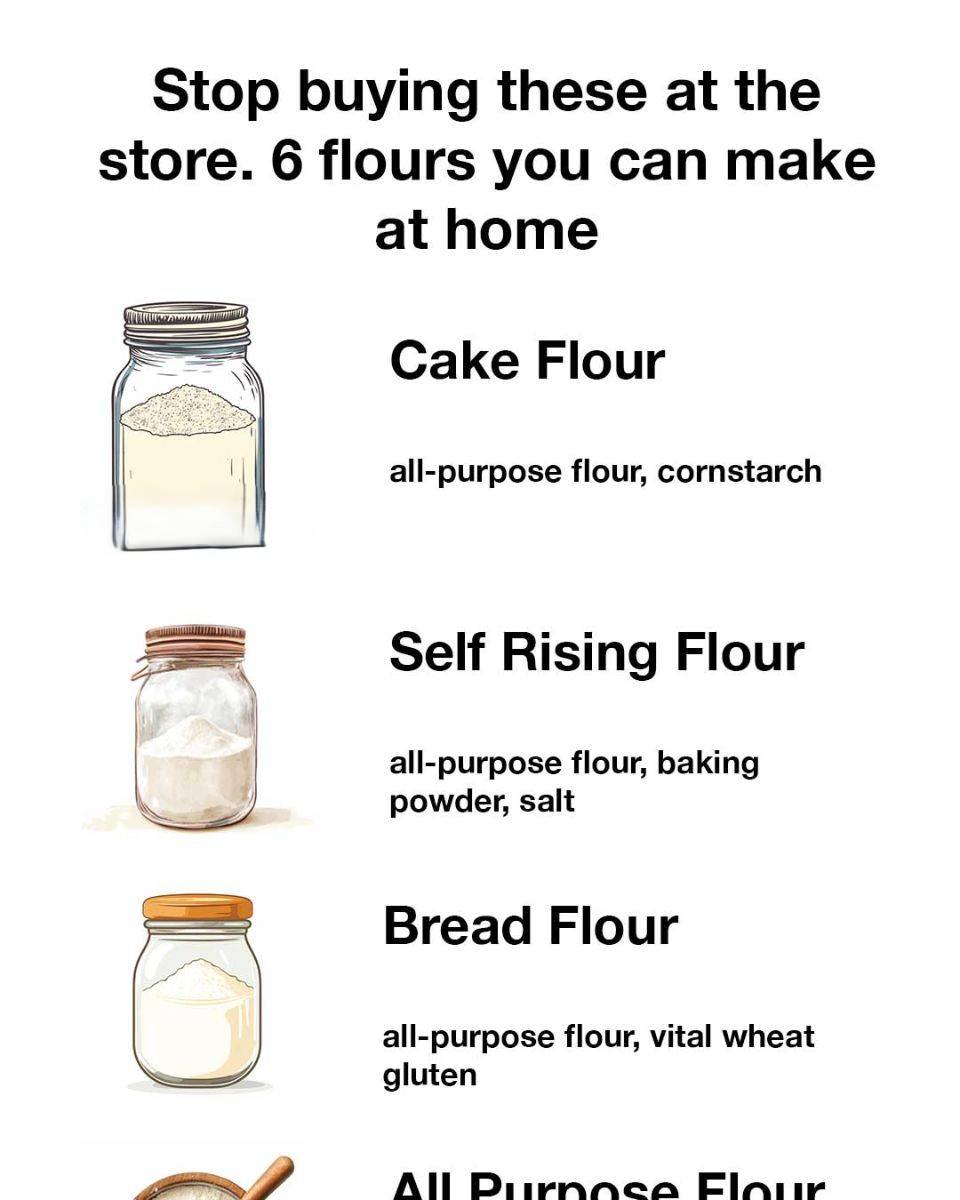
**Stop Buying These at the Store: 6 Flours You Can Make at Home**
In today’s world, people are more conscious about the ingredients they use in cooking. With the rise of food allergies, dietary restrictions, and a growing awareness of healthy eating, many home cooks are opting for fresh and homemade alternatives to store-bought products. One such item is flour. Flour is a pantry staple that often gets overlooked when it comes to making your own at home, but it’s easier than you might think. Why not skip the pre-packaged versions, which may contain preservatives, additives, or come from non-sustainable sources, and try making these flours from scratch? You can enjoy a variety of flours that can be tailored to your dietary needs, with a fraction of the cost and effort.
In this article, we will explore six different types of flours that you can easily make at home, including some that cater to gluten-free or specialty diets. We’ll also discuss how to make these flours, the benefits of making them from scratch, and creative ways to use them in your everyday cooking and baking.
—
### 1. **All-Purpose Flour**
Let’s start with the most common flour found in kitchens worldwide – **all-purpose flour**. While this is available at every supermarket, making your own can be surprisingly easy and rewarding. By creating this staple at home, you can control the quality of the grains and ensure that your flour is as fresh as possible.
#### How to Make All-Purpose Flour at Home
To make your own all-purpose flour, you need a **grain mill**, a **high-speed blender**, or a **coffee grinder**. Ideally, choose **hard wheat berries** or **soft wheat berries** depending on the desired texture of your flour. Hard wheat is great for bread and pizza, while soft wheat is more suitable for cakes, cookies, and pastries.
1. **Step 1: Select Your Wheat Berries**
Choose either hard or soft wheat berries from your local health food store or online. You can also find organic options for added health benefits.
2. **Step 2: Grind the Wheat Berries**
If you are using a grain mill, follow the instructions to mill the berries into flour. For a high-speed blender, place small amounts of wheat berries into the blender, then pulse until you achieve a fine texture. This may take a bit longer and require a few cycles.
3. **Step 3: Sift the Flour (Optional)**
After grinding, sift the flour to remove larger bits of bran or wheat germ, if desired. Some bakers prefer to leave these in for added fiber and nutrients.
4. **Step 4: Store Properly**
Store your freshly made flour in an airtight container in a cool, dry place. It’s best to use the flour within a few weeks, although you can freeze it for longer storage.
#### Benefits of Homemade All-Purpose Flour
– **Cost-effective**: Grain berries can often be purchased in bulk, making this method more affordable than buying pre-milled flour.
– **No additives or preservatives**: Store-bought flour often contains added ingredients, such as preservatives, to extend shelf life. Homemade flour is pure and unadulterated.
– **Freshness**: Freshly milled flour contains more flavor and nutrients compared to its pre-packaged counterpart.
#### How to Use All-Purpose Flour
Homemade all-purpose flour can be used in any recipe that calls for this classic ingredient. From breads, muffins, and cakes to cookies, pancakes, and thickening sauces, homemade all-purpose flour will elevate the taste and texture of your dishes.
—
### 2. **Almond Flour**
Almond flour is a popular alternative to traditional flours, especially in gluten-free and low-carb baking. Unlike other flour options, almond flour is made from finely ground almonds, which are high in protein, healthy fats, and fiber. It’s commonly used in keto diets and paleo baking because it’s low in carbs and naturally gluten-free.
#### How to Make Almond Flour at Home
Making almond flour at home requires just one simple ingredient: almonds. You can use either blanched or unblanched almonds, depending on your preference. If you use unblanched almonds, you’ll get a slightly more textured flour.
1. **Step 1: Blanch the Almonds (Optional)**
If you’re using raw almonds with skins, blanching them will give you a smoother flour. To blanch, boil water, add the almonds for about 1 minute, then drain and let them cool. Gently rub off the skins with your fingers or a towel.
2. **Step 2: Grind the Almonds**
Use a high-speed blender or food processor to grind the almonds into a fine powder. Pulse in small intervals to avoid turning them into almond butter. You may need to scrape down the sides to ensure even grinding.
3. **Step 3: Sift the Flour**
For an extra fine texture, sift the almond flour to remove larger almond bits.
4. **Step 4: Store Properly**
Store almond flour in an airtight container in the fridge or freezer to preserve its freshness. The oil content in almonds can cause the flour to go rancid if stored at room temperature for too long.
For Complete Cooking STEPS Please Head On Over To Next Page Or Open button (>) and don’t forget to SHARE with your Facebook friends
