ADVERTISEMENT
Step-by-Step Instructions
1. Prepare the Strawberry Purée
Start by preparing the strawberry purée. In a blender or food processor, add the fresh strawberries and sugar. Blend until smooth. If you prefer a chunkier texture, you can pulse the strawberries lightly, but a smooth purée works best for mixing into the ice cream base.
Once blended, pour the purée into a small saucepan and cook over medium heat for about 5 minutes. Stir occasionally to prevent burning and allow the mixture to thicken slightly. This will concentrate the strawberry flavor and reduce excess liquid. After 5 minutes, remove from heat and set aside to cool.
2. Make the Ice Cream Base
In a medium saucepan, combine the heavy cream and whole milk. Split the vanilla bean lengthwise and scrape out the seeds with the back of a knife. Add both the vanilla bean seeds and the pod into the saucepan with the cream and milk. If you’re using vanilla extract, you can add it later when the base is cooling.
Place the saucepan over medium heat and warm the mixture, stirring occasionally, until it is hot but not boiling (about 170°F or 77°C). Once hot, remove the saucepan from the heat and let the vanilla infuse for about 10 minutes.
While the cream and milk mixture is cooling, whisk the egg yolks and granulated sugar together in a separate bowl until the mixture becomes smooth and pale in color.
3. Temper the Egg Yolks
To avoid scrambling the eggs, you’ll need to temper them. Gradually add a small amount of the hot cream mixture to the egg yolk and sugar mixture while constantly whisking. This will gently raise the temperature of the eggs without cooking them. Slowly add the rest of the cream mixture to the eggs, continuing to whisk the whole time.
4. Cook the Custard
Once the egg and cream mixture is fully combined, return it to the saucepan and cook over low heat. Stir the mixture constantly with a wooden spoon or spatula, ensuring it doesn’t stick to the bottom of the pan. Continue cooking until the custard thickens and coats the back of the spoon, about 10-12 minutes. You’ll know it’s ready when the mixture reaches 175°F (80°C).
Once thickened, remove from heat and strain the custard through a fine mesh sieve into a clean bowl to remove any bits of cooked egg. Allow the custard to cool to room temperature.
5. Combine the Strawberry Purée and Custard
Once the custard has cooled, stir in the strawberry purée. If you’d like the flavor to be extra fresh, add a tablespoon of lemon juice to the mixture. The acidity in the lemon enhances the natural sweetness of the strawberries and adds brightness to the ice cream.
If you used the vanilla bean pod, remove it at this point. If you’re using vanilla extract, stir it in now.
6. Chill the Mixture
Cover the bowl with plastic wrap and refrigerate the mixture for at least 4 hours, or preferably overnight. Chilling the custard ensures it freezes better and develops a richer flavor.
7. Churn the Ice Cream
Once the mixture has chilled, pour it into your ice cream maker and follow the manufacturer’s instructions. Most ice cream makers will require the mixture to churn for about 20-25 minutes until it reaches the consistency of soft serve.
8. Freeze Until Firm
Transfer the churned ice cream to an airtight container and smooth the top. Cover the container with a lid or plastic wrap and freeze for at least 4 hours (or overnight) to allow the ice cream to firm up to the perfect scoopable texture.
9. Serve and Enjoy!
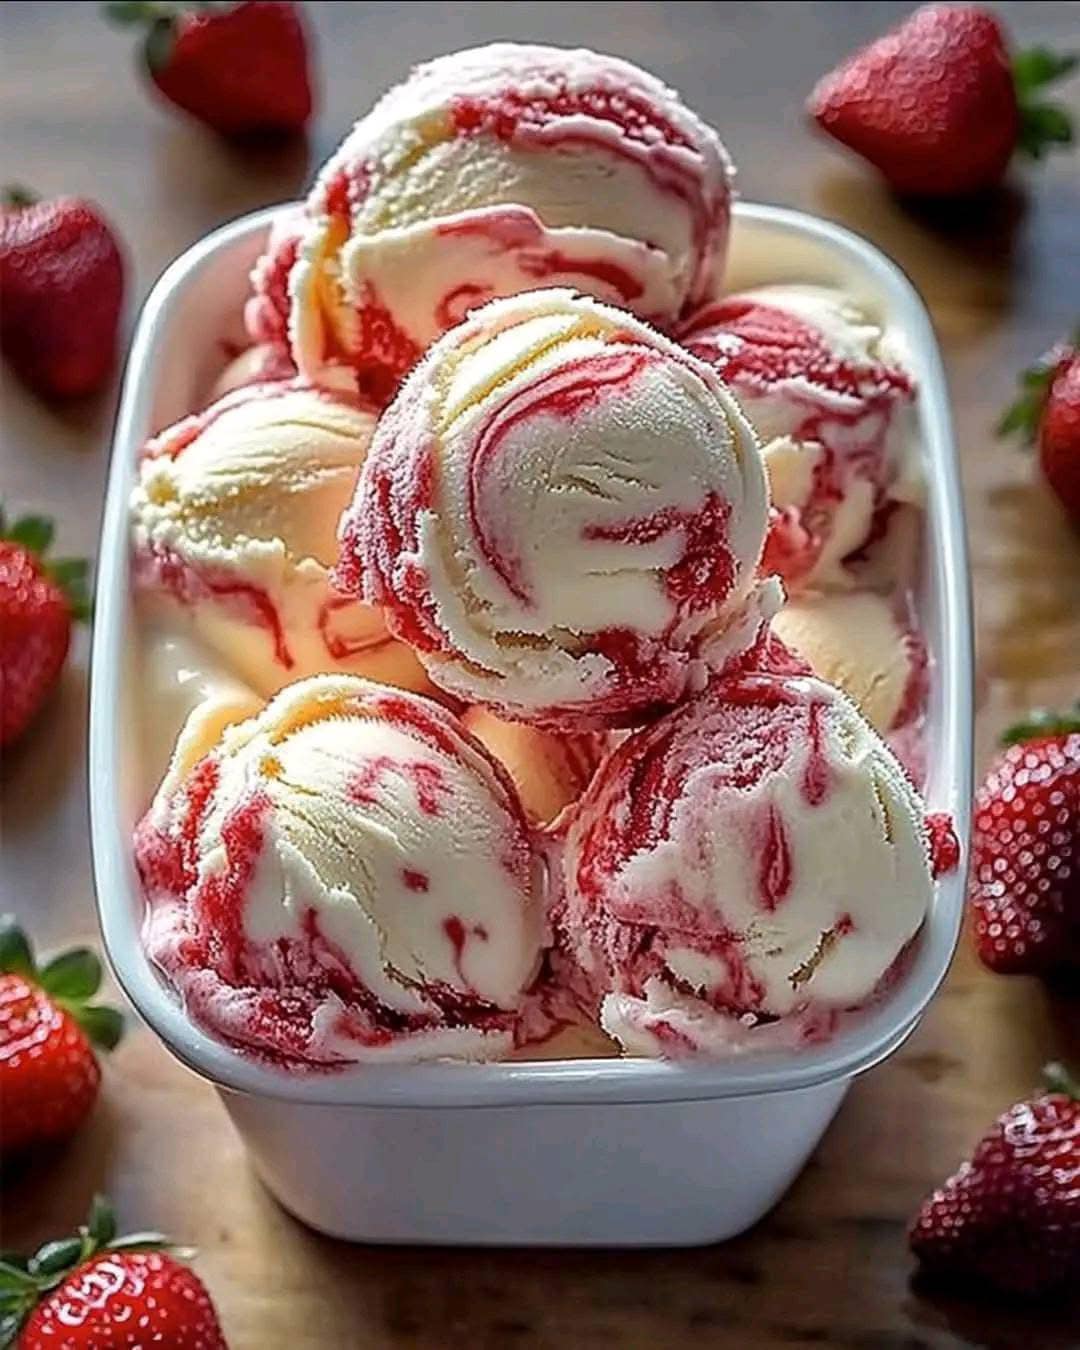
Once your Strawberry Vanilla Bean Ice Cream is fully frozen and set, it’s ready to serve! Scoop into bowls or cones, and enjoy the sweet, creamy perfection of homemade ice cream.
Tips for Perfect Strawberry Vanilla Bean Ice Cream
- Use Fresh Strawberries: For the best flavor, try to use fresh, ripe strawberries. The natural sweetness of the strawberries will really shine through in the ice cream. If fresh strawberries aren’t available, frozen strawberries can work too — just make sure to thaw them first.
- Vanilla Bean vs. Extract: If you can, use vanilla bean instead of vanilla extract. The tiny black seeds from the vanilla bean provide a more intense vanilla flavor and a beautiful visual appeal in the ice cream.
- Chill the Custard: Don’t rush the chilling step. The colder your custard is when you churn it, the better the texture and consistency of your ice cream will be. Plan ahead and let the mixture chill overnight if you can.
- Avoid Ice Crystals: To avoid ice crystals in your ice cream, make sure you churn it for long enough. If you stop the churning process too soon, your ice cream will be too icy. The ice cream should have a soft, creamy texture before freezing.
- Mix-Ins: If you like your ice cream with a little texture, consider adding some mix-ins. Chopped strawberries, chocolate chips, or even a swirl of strawberry jam can add extra flavor and texture to your homemade ice cream.
Conclusion: A Scoop of Summer in Every Bite
There’s truly nothing like the taste of homemade ice cream, and Strawberry Vanilla Bean Ice Cream is a perfect summer treat. With its rich, creamy base, natural sweetness from the strawberries, and aromatic vanilla bean notes, this ice cream is a delightful dessert that everyone will love.
Whether you’re hosting a summer gathering, treating yourself to a homemade dessert, or simply enjoying a sweet moment, this ice cream will bring a touch of sweetness and joy to any occasion. So, grab your ice cream maker, gather your ingredients, and create your very own scoop of sweet perfection today!
