ADVERTISEMENT
#### **Instructions**:
1. **Combine the Milk and Sweetener**:
In a medium saucepan, pour in the unsweetened almond or coconut milk. Add the erythritol (or your chosen sweetener) to the milk, stirring to combine. Use a whisk or spoon to mix until the sweetener dissolves completely. If you are using granulated erythritol, you may need to stir for a minute or two to ensure that it dissolves.
2. **Heat the Mixture**:
Place the saucepan over medium heat and bring the mixture to a gentle simmer. Stir occasionally to prevent the milk from burning or sticking to the bottom of the pan. You want to allow the mixture to heat up but not boil. Keep an eye on it to make sure the milk doesn’t overflow or scorch.
3. **Add Butter or Coconut Oil**:
Once the mixture starts to simmer, add the butter or coconut oil. Stir constantly as the butter melts into the mixture. This will help the condensed milk achieve that smooth, creamy texture you’re looking for.
4. **Simmer and Thicken**:
Continue to cook the mixture on low heat for about 20 to 25 minutes, stirring occasionally. The goal is to reduce the liquid and thicken the milk to a syrupy consistency. You’ll notice the color will become richer as the milk reduces.
5. **Test the Consistency**:
To test if the condensed milk is ready, take a spoon and dip it into the mixture. When you lift it out, the liquid should coat the back of the spoon and hold its shape. If it’s still too runny, continue to simmer and stir for a few more minutes until you reach the desired consistency.
6. **Cool and Store**:
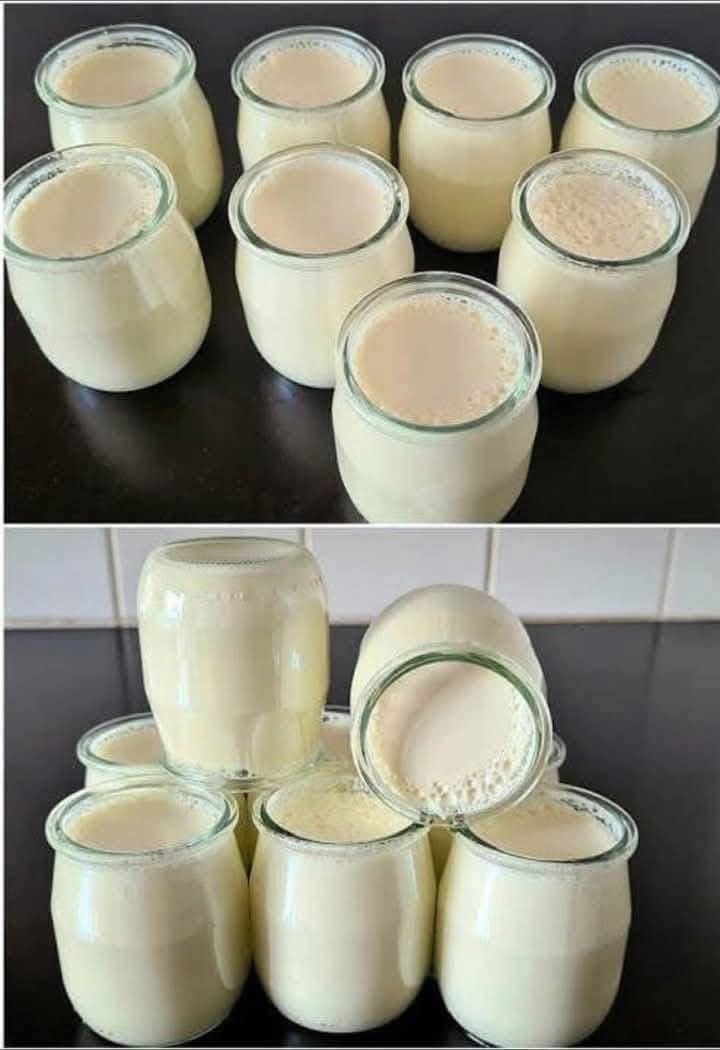
Once the sugar-free condensed milk has thickened to your liking, remove the saucepan from the heat. Let the mixture cool to room temperature. The condensed milk will thicken further as it cools. After it’s cooled, transfer the mixture to an airtight jar or container and refrigerate. It will keep in the fridge for up to two weeks.
—
### **How to Use Sugar-Free Condensed Milk**
Now that you’ve made your own sugar-free condensed milk, you’re probably wondering what to do with it. Here are some ideas for how to use this homemade treat:
#### **1. Desserts and Baked Goods**:
Sugar-free condensed milk is perfect for a variety of desserts and baked goods. Use it in recipes for sugar-free pies, cakes, cookies, and puddings. It’s also a great addition to no-bake cheesecakes or sugar-free fudge.
#### **2. Ice Cream**:
You can make your own sugar-free ice cream by mixing sugar-free condensed milk with cream and flavorings like vanilla or chocolate. Simply freeze the mixture in an ice cream maker or in a shallow container, stirring occasionally, for a delicious frozen treat.
#### **3. Beverages**:
Sugar-free condensed milk is often used in beverages like coffee, tea, or Thai iced tea to add a creamy sweetness. Try adding a spoonful to your morning coffee for a low-carb, sugar-free latte.
#### **4. Keto and Low-Carb Recipes**:
For those on a keto or low-carb diet, sugar-free condensed milk is a game-changer. Use it in low-carb recipes for caramel sauce, sugar-free fudge, or as a filling for keto-friendly desserts.
—
### **Conclusion**
Sugar-free condensed milk is a versatile and healthy alternative to traditional sweetened condensed milk. With just three simple ingredients—unsweetened milk, a sugar substitute, and butter or coconut oil—you can create a rich, creamy, and sugar-free version that works perfectly in a variety of recipes. Not only is this homemade version delicious, but it’s also easy to make and far more economical than store-bought versions. Whether you’re following a low-carb, keto, or diabetic-friendly diet, this sugar-free condensed milk will allow you to enjoy your favorite treats without the guilt.
So, grab your ingredients and get started on this easy and delicious recipe today! Your taste buds—and your health—will thank you.
