ADVERTISEMENT
The Cake That’s Worth Baking Three Times a Week: A Delightful Recipe
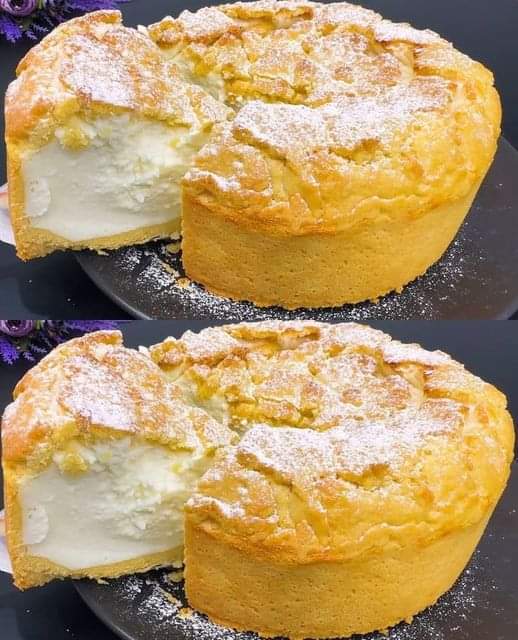
Everyone loves a good cake, but finding one that’s so irresistible, it becomes a regular fixture in your baking routine can be a challenge. Well, look no further—this is the cake you’ll want to bake three times a week! Moist, flavorful, and easy to make, this cake is everything you’ve been searching for in a homemade treat. Whether you enjoy it as a breakfast snack, an afternoon pick-me-up, or a delightful dessert, this cake will soon be the star of your kitchen.
Let’s dive into this delightful cake recipe that will have you baking it over and over again because it’s that good!
Why This Cake is Worth Baking Weekly
Before we jump into the recipe, let’s talk about why this cake is truly worth baking every week:
- Incredibly Moist and Tender: The texture of this cake is what makes it stand out. It’s so moist and tender that it practically melts in your mouth, leaving you craving more.
- Simple Ingredients: It uses basic pantry staples that you probably already have on hand, making it easy to bake without a special trip to the store.
- Versatile: Whether you want to serve it as-is, add a glaze or frosting, or incorporate fruit, nuts, or chocolate chips, this cake can be easily customized to suit your taste preferences.
- Quick and Easy: This cake is perfect for beginner bakers, as it requires minimal effort and very few steps. If you’re looking for a no-fuss recipe that yields incredible results, this is the one.
- Perfect for Any Occasion: Whether you’re having a casual family meal, hosting a gathering, or just treating yourself, this cake is always the right choice. It’s simple yet elegant enough to serve to guests.
Ingredients for the Cake
To make this delightful cake, you’ll need just a handful of simple ingredients:
- 2 cups all-purpose flour
- 1 1/2 cups granulated sugar
- 1 teaspoon baking powder
- 1/2 teaspoon baking soda
- 1/2 teaspoon salt
- 1/2 cup unsalted butter, softened
- 2 large eggs
- 1 teaspoon vanilla extract
- 1 cup buttermilk (or substitute with regular milk)
- 1 tablespoon lemon juice (optional for extra flavor)
Instructions: How to Make This Irresistible Cake
Now that you have your ingredients, it’s time to get baking! Here’s how to make the cake that’s worth baking three times a week:
1. Preheat Your Oven
Preheat your oven to 350°F (175°C). Grease and flour a 9×9-inch square baking pan, or line it with parchment paper for easy removal.
2. Mix the Dry Ingredients
In a medium bowl, whisk together the flour, sugar, baking powder, baking soda, and salt. This ensures that all the dry ingredients are evenly distributed, so your cake rises beautifully.
3. Cream the Butter and Sugar
In a large bowl, use an electric mixer or whisk to beat the softened butter and granulated sugar together until the mixture is light and fluffy. This process usually takes about 2-3 minutes. It’s important to cream the butter and sugar properly, as this will give your cake its light texture.
4. Add Eggs and Vanilla
Beat in the eggs, one at a time, ensuring each is fully incorporated before adding the next. Then, add the vanilla extract and mix until smooth.
5. Add Dry Ingredients and Buttermilk
Alternate adding the dry ingredients and buttermilk to the butter mixture, starting and ending with the dry ingredients. Begin by adding about half of the dry ingredients, then pour in the buttermilk, and finish by adding the rest of the dry ingredients. Mix until just combined—don’t overmix, as this could result in a dense cake.
6. Add Lemon Juice (Optional)
If you want a little extra flavor and brightness, add lemon juice to the batter and stir gently. This is an optional step but adds a lovely zing to the cake.
7. Bake the Cake
Pour the batter into the prepared pan and spread it out evenly. Bake in the preheated oven for about 30-35 minutes, or until a toothpick inserted into the center comes out clean or with just a few crumbs attached.
8. Cool the Cake
Let the cake cool in the pan for about 10 minutes, then remove it from the pan and allow it to cool completely on a wire rack. This ensures that the cake stays moist and doesn’t become soggy.
For Complete Cooking STEPS Please Head On Over To Next Page Or Open button (>) and don’t forget to SHARE with your Facebook friends
