ADVERTISEMENT
The Ingredient That Instantly Removes Burns on Pots and Pans
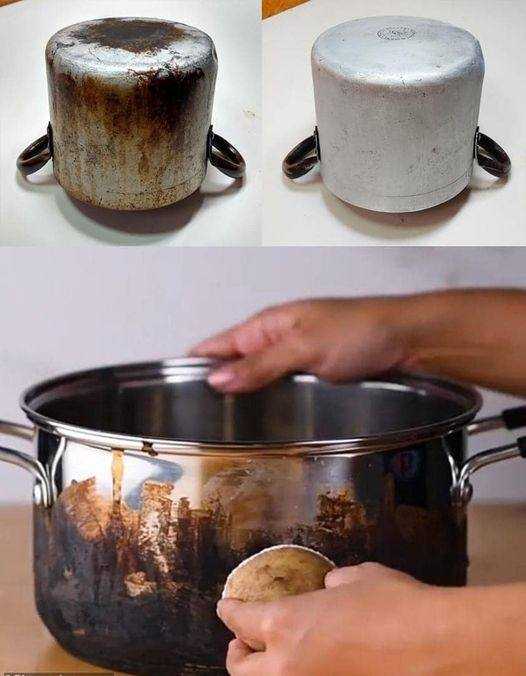
We’ve all been there: the moment you walk away from the stove for just a second, and boom—a burn mark appears on your favorite pot or pan. Whether it’s a stubborn scorch from a spilled pot of soup or some unfortunate overcooking mishap, burned pots and pans can be a real headache. The good news? There’s a simple, effective ingredient that can help remove those pesky burn marks almost instantly—and it’s something you probably already have in your kitchen!
The magic ingredient: Baking Soda.
Yes, that humble box of baking soda, which is usually reserved for baking and freshening up your fridge, works wonders on cleaning and removing burn marks from pots and pans. Let’s dive into how you can use this household staple to restore your cookware to its former glory.
Why Does Baking Soda Work?
Baking soda is a natural abrasive, which means it helps gently scrub away burnt residue without scratching or damaging your pots and pans. It also reacts with oils and grease, breaking them down and lifting away stubborn stains. When combined with water or vinegar, it creates a mild reaction that further aids in removing the burned-on food and discoloration.
How to Remove Burn Marks with Baking Soda: A Step-by-Step Guide
What You’ll Need:
- Baking soda
- Water
- Dish soap (optional)
- A sponge or non-abrasive scrub brush
Step 1: Assess the Burn
First, make sure the pot or pan has cooled down. You don’t want to clean a hot pan, as it could burn you or warp your cookware. Once it’s cool, inspect the burn marks. Is it just a light discoloration, or is it a more stubborn, charred mess?
Step 2: Sprinkle Baking Soda
Sprinkle a generous amount of baking soda directly onto the burned area of the pot or pan. You’ll want to cover the entire burnt surface with a layer of baking soda.
Step 3: Add Water
Next, add just enough water to make a paste. This will activate the baking soda and create a slightly gritty texture that works as a gentle scrubber. If your pot is heavily scorched, you can even add a bit of dish soap to the water for extra grease-fighting power.
Step 4: Let it Sit
Allow the baking soda paste to sit on the burn for 15-20 minutes. This waiting period gives the baking soda time to work its magic, loosening up the burnt food and grime.
Step 5: Scrub Gently
After letting the paste sit, grab a sponge or non-abrasive scrub brush and gently scrub the affected area. You should see the burn marks start to lift. If the burn is particularly stubborn, you can add a little extra baking soda or water and continue scrubbing.
Step 6: Rinse and Repeat if Needed
Once you’ve removed the burn marks, rinse the pot or pan thoroughly with warm water. If any discoloration remains, you can repeat the process until the
