ADVERTISEMENT
The Trick to Reviving a Dry Orchid Whose Flowers Have Withered: A Simple Guide to Bringing Your Orchid Back to Life!
Orchids are known for their elegance and delicate beauty, but they can sometimes be a bit tricky to care for, especially when their flowers wither or the plant begins to dry out. If you’ve noticed your orchid looking a little lackluster, don’t despair! The good news is that reviving a dry orchid is absolutely possible with the right care and attention.
In this article, we’ll walk you through some simple and effective steps to bring your orchid back to life, so it can thrive and bloom again.
Why Do Orchids Wither and Dry Out?
Before we dive into how to revive your orchid, it’s important to understand why this happens in the first place. Orchids, particularly Phalaenopsis (the most common type of orchid), can experience flower withering and drying out for several reasons:
- Improper watering: Orchids require specific watering techniques. Overwatering or underwatering can lead to dehydration or root rot.
- Lack of humidity: Orchids thrive in humid environments, and dry air can cause the flowers and leaves to dry out.
- Wrong light conditions: Orchids need bright, indirect light to flourish. Too much direct sunlight or too little light can stress the plant.
- Temperature extremes: Orchids prefer temperatures between 65°F and 75°F (18°C to 24°C). Exposure to sudden temperature changes or drafts can damage the plant.
Once you identify the cause of your orchid’s distress, you can take the necessary steps to revive it.
Step-by-Step Guide to Reviving Your Dry Orchid
1. Assess the Orchid’s Condition
The first thing you’ll want to do is take a close look at the plant to evaluate its overall health. Check the following:
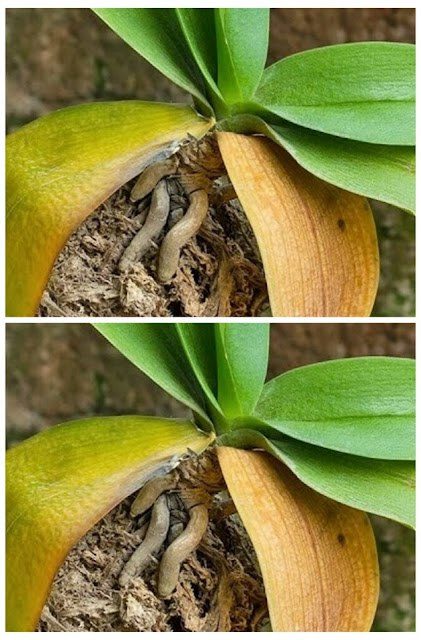
- Roots: Healthy orchid roots are firm and greenish-white. If they are brown or mushy, this may indicate root rot.
- Leaves: Orchid leaves should be firm and vibrant green. If the leaves are soft, yellow, or shriveled, they may be lacking water or nutrients.
- Flower Stem: If the flowers have withered, but the stem is still green, there’s a good chance your orchid can bloom again with proper care.
2. Trim the Flower Spike (if necessary)
If your orchid has finished blooming and the flower spike is turning brown or yellow, it’s time to cut it back. Cut the spike just above the node (the little bump on the stem where leaves and flowers grow) to encourage new growth and potentially new blooms. This will help the plant focus its energy on the roots and leaves instead of trying to revive old flowers.
3. Revitalize the Roots
If you find that the orchid’s roots have become dried out or rotted, this can prevent the plant from absorbing the nutrients and moisture it needs to survive. Here’s how to help your orchid’s roots recover:
- Remove the orchid from its pot carefully. Gently shake off the old, damp medium (such as bark or moss) from the roots.
- Inspect the roots: Trim off any blackened, mushy, or rotting roots using a clean, sharp pair of scissors or pruning shears. Make sure to leave the healthy, firm roots intact.
- Soak the roots: Place the roots in lukewarm water for about 15-20 minutes to hydrate them. This helps rehydrate the orchid, especially if it’s been too dry for a while.
4. Re-pot Your Orchid in Fresh Medium
After you’ve trimmed the roots and soaked them, it’s time to re-pot the orchid. Orchids generally grow best in well-draining potting medium like orchid bark, sphagnum moss, or a special orchid mix.
- Choose a pot with drainage holes to prevent water from sitting at the bottom and causing root rot.
- Fill the pot with fresh, dry orchid medium and gently place the orchid back in its new home.
- Lightly pack the medium around the roots, making sure not to bury the plant too deeply. The roots should be sitting comfortably in the medium, and the orchid should be secure in the pot.
- For Complete Cooking STEPS Please Head On Over To Next Page Or Open button (>) and don’t forget to SHARE with your Facebook friends
