ADVERTISEMENT
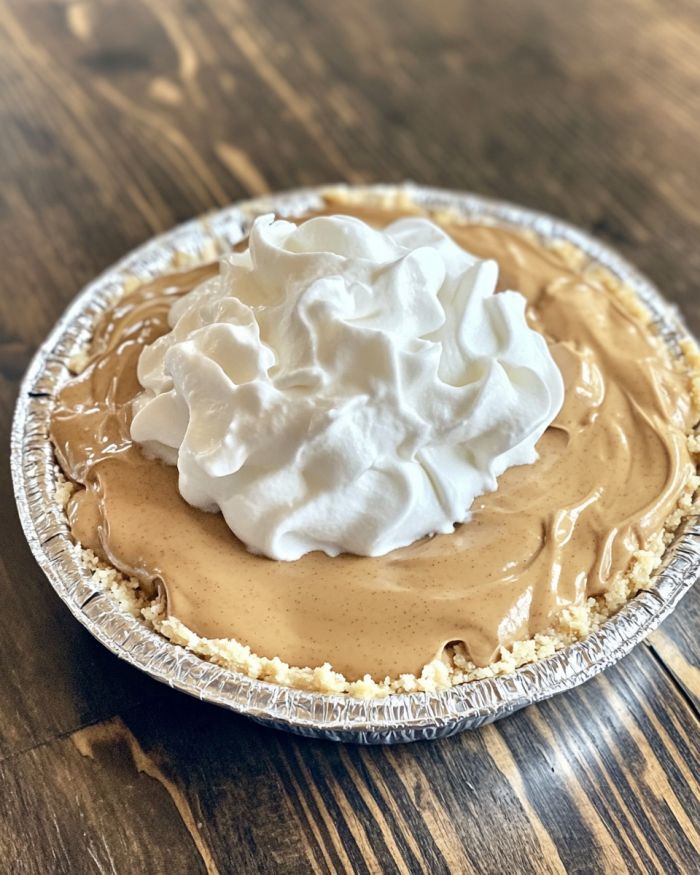
no-bake treat:
Step 1: Prepare the Base
In a medium bowl, combine the crushed graham crackers (or digestive biscuits) and melted butter. Stir the mixture well until all the crumbs are coated in butter. Press this buttery mixture evenly into the bottom of a greased 9×9-inch baking pan or a similar-sized dish. Use the back of a spoon to compact the crust.
Step 2: Create the Filling
In a separate bowl, pour in the sweetened condensed milk and mix in the vanilla extract. If you’re using peanut butter, melt it slightly in the microwave and stir it into the condensed milk for a smooth, rich filling. Then, fold in the chocolate chips and shredded coconut (if using). Feel free to add your choice of chopped nuts here as well. Mix everything until fully combined.
Step 3: Assemble the Layers
Pour the creamy filling over the graham cracker crust in your pan. Use a spatula to spread it evenly across the surface and smooth out the top.
Step 4: Chill and Set
Cover the dish with plastic wrap or foil and place it in the refrigerator to chill for at least 2 hours, or until the filling is set and firm. You can even leave it overnight for best results.
Step 5: Serve and Enjoy!
Once the treat is set, slice it into squares or bars. Serve chilled, and enjoy the wonderful combination of creamy filling, crunchy base, and rich flavors.
Customization Ideas:
This no-bake recipe is incredibly versatile! You can adjust the ingredients to match your personal taste or to suit dietary preferences. Here are a few variations to consider:
- Use Different Crusts: Instead of graham crackers, you can use crushed Oreos, pretzels, or even a cookie crust for a different flavor profile.
- Swap the Chocolate Chips: Try using different types of chocolate (dark, milk, or white) for a twist on flavor. You could also add mini marshmallows for a fun s’mores-inspired treat.
- Add Fruit: Mix in some fresh berries or a drizzle of fruit jam on top for a fruity touch.
- Go Nut-Free: Leave out the nuts and coconut if you’re serving those with allergies. The base will still hold up perfectly without them.
Why This Recipe is Perfect for Any Occasion
1. Quick and Convenient
In our busy lives, we often don’t have time to bake complicated desserts. This recipe cuts out all the hassle while still delivering a delicious treat. It’s perfect for anyone who’s looking for something quick and easy, whether you’re a beginner cook or an experienced chef looking for a shortcut.
2. No Oven, No Problem
Sometimes the weather is too hot, or you just don’t want to turn the oven on. This no-bake dessert saves you from heating up your kitchen while still satisfying your sweet tooth.
3. Great for Meal Prep and Make-Ahead
Because this dessert needs to chill in the refrigerator, it’s perfect for meal prep or making ahead of time. Make a batch in advance and have a ready-to-serve dessert for the week or a special event. It’s also easy to store in the fridge for several days, so you can snack on it whenever you want!
Conclusion
This recipe is perfect for anyone looking for a quick, no-bake treat that’s guaranteed to please a crowd. With minimal effort and no oven required, you can make a delicious dessert that’s both simple and impressive. Whether you’re planning a party, a casual get-together, or need something sweet on hand, this recipe has got you covered.
So, gather your ingredients, get started, and enjoy a delicious dessert that is sure to be the hit at your next event!
ADVERTISEMENT
ADVERTISEMENT
