ADVERTISEMENT
#### **Step 2: Let the Dough Rise**
After the dough is mixed, cover the bowl with a clean kitchen towel or plastic wrap. Place the bowl in a warm, draft-free area and let the dough rise for about 1 to 1.5 hours. During this time, the dough will double in size as the yeast ferments and creates bubbles in the dough.
While the dough rises, you can prepare your baking surface and preheat the oven. Traditionally, Turkish bread is baked in a very hot oven to achieve the characteristic crispy crust. Preheat your oven to 450°F (230°C) and place a baking stone or baking sheet inside to heat up as well. This will ensure that the bread gets an even bake and develops a crispy exterior.
#### **Step 3: Shape the Dough**
Once the dough has risen, gently punch it down to release any excess air. Turn the dough out onto a lightly floured surface and use your hands to shape it into a round or oval loaf. You don’t need to be too precise with the shape—just make sure that the loaf is even in thickness so that it bakes evenly.
If you prefer a traditional Turkish bread shape, you can shape the dough into a round flatbread, similar to *pide*, or a slightly thicker loaf, depending on your preference. Turkish bread often has a slightly thicker center and thinner edges, but the beauty of this recipe is that you can shape it however you like.
#### **Step 4: Let the Dough Rest Again**
Once the dough is shaped, cover it with a kitchen towel and let it rest for another 20 to 30 minutes. This second rise will help the dough become even more light and airy, giving the bread its characteristic texture.
During this resting period, you can prepare any toppings or flavorings you’d like to add to your bread. Some people like to sprinkle sesame seeds, nigella seeds, or za’atar (a Middle Eastern spice blend) on top of their Turkish bread for extra flavor and texture. You can also brush the surface of the bread with a little olive oil or egg wash to give it a golden finish.
#### **Step 5: Bake the Bread**
Once the dough has rested and risen again, it’s time to bake the bread. Carefully transfer the shaped dough onto the preheated baking stone or baking sheet. If desired, you can score the top of the bread with a sharp knife to create a decorative pattern. This helps the bread bake evenly and also gives it a more artisanal look.
Place the bread in the preheated oven and bake for 20 to 25 minutes, or until the crust is golden brown and the bread sounds hollow when tapped on the bottom. The exact baking time may vary depending on your oven and the size of your loaf, so keep an eye on it as it bakes.
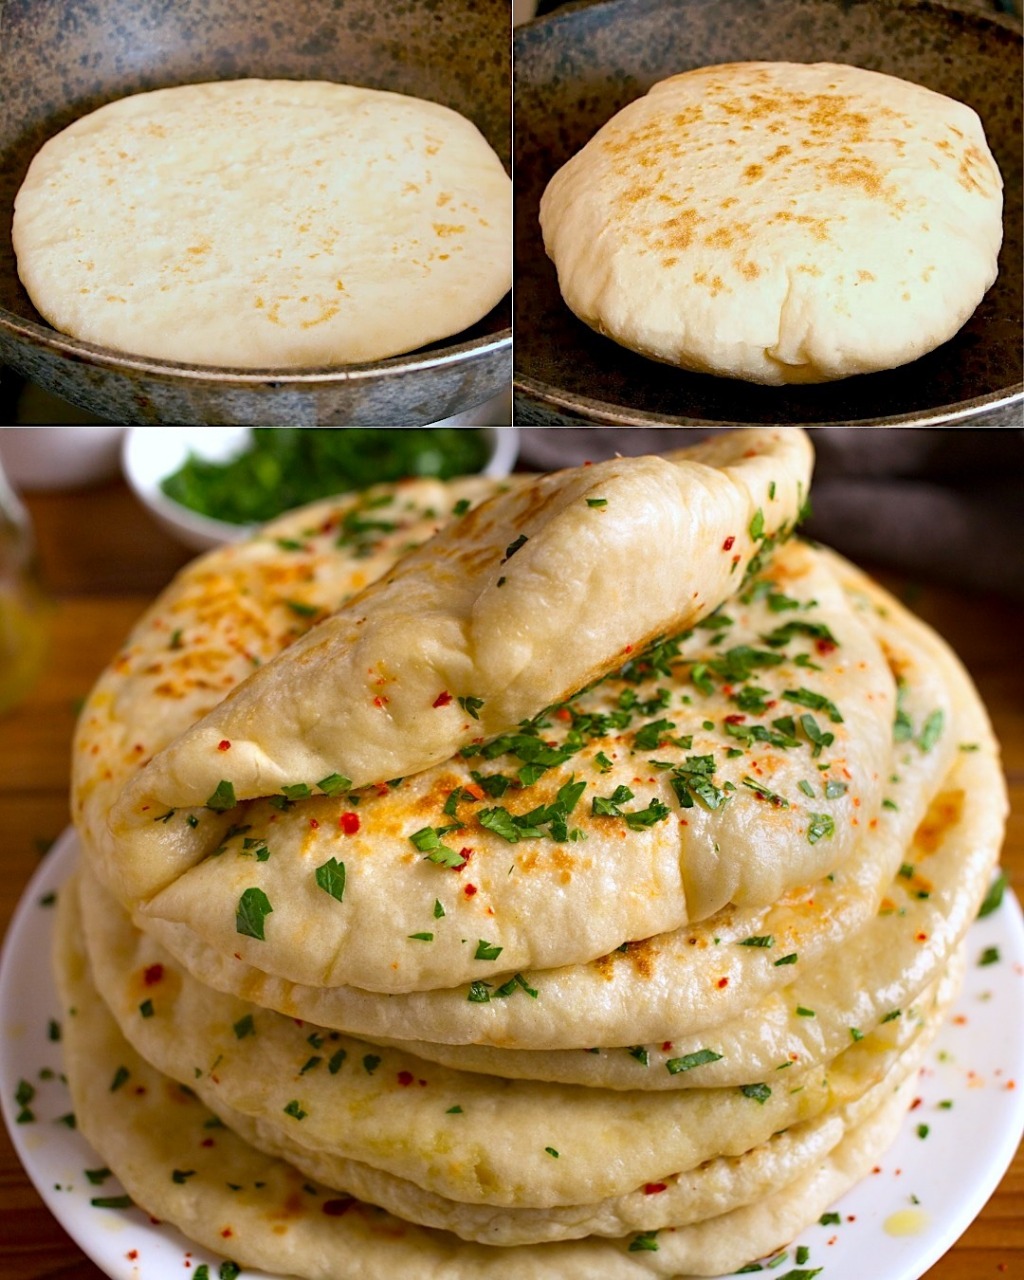
Once the bread is done, remove it from the oven and let it cool slightly before slicing. The result should be a warm, soft, and slightly chewy bread with a crispy crust—perfect for enjoying with soups, salads, or as a side to any Turkish dish.
### Tips for Perfect Turkish Bread
– **Use Warm Water**: When activating the yeast, make sure the water is warm, not hot, as this will help the yeast bloom and create a better rise. Water that is too hot can kill the yeast, while water that is too cold will not activate it properly.
– **Allow for a Long Rise**: The key to making Turkish bread without kneading is the long rise. Be patient and allow the dough plenty of time to ferment and rise. This is what gives the bread its light texture.
– **Experiment with Toppings**: While Turkish bread is delicious on its own, feel free to experiment with toppings and flavorings like sesame seeds, thyme, or cheese. You can also brush the dough with olive oil before baking to add richness and flavor.
– **Use a Baking Stone**: If you have a baking stone, use it to bake the bread for a more even bake and a crispy crust. A preheated baking sheet can work as well if you don’t have a stone.
### Why Turkish Bread is Perfect for Beginners
One of the best things about Turkish bread is that it’s ideal for beginners. Traditional bread recipes often require precise measurements, kneading, and timing, which can be intimidating for those who are new to baking. Turkish bread, on the other hand, simplifies the process by removing the need for kneading and focusing on the rise.
With just a few simple ingredients and a little patience, anyone can make Turkish bread at home. It’s a perfect recipe for those who want to try baking bread for the first time, as it’s forgiving and doesn’t require any special skills or equipment. Plus, the results are incredibly rewarding—nothing beats the smell and taste of freshly baked bread.
### Conclusion
Making Turkish bread is an easy and rewarding experience that anyone can enjoy. Its simple ingredients, no-knead process, and delicious results make it the perfect bread to bake at home. Whether you’re looking for a new bread recipe to try, or you want to explore Turkish cuisine, this bread is sure to become a favorite in your kitchen.
So, next time you have a craving for homemade bread, give Turkish bread a try. With just a little time and a few basic ingredients, you can create a loaf of soft, fluffy, and flavorful bread that will impress your friends and family. And best of all, you don’t have to knead a thing!
