ADVERTISEMENT
—
### **Instructions**
1. **Prepare the Jars:**
Begin by sterilizing your jars. Wash the jars and lids thoroughly and place them in a hot oven (about 200°F or 90°C) for 10 minutes. This ensures the jars are sterile and will safely store your gift for a longer period.
2. **Cook the Sugar Mixture:**
In a medium saucepan, combine the granulated sugar, brown sugar, butter, heavy cream, corn syrup, and salt. Place the saucepan over medium heat and stir constantly until the butter melts and the sugar dissolves.
3. **Bring to a Boil:**
Once the mixture is smooth, increase the heat to medium-high and bring the mixture to a gentle boil. Allow it to cook for 5–7 minutes, stirring frequently. Keep an eye on the mixture, and be careful not to let it burn. It should thicken slightly as it cooks.
4. **Add the Flavor:**
Once the caramel mixture has thickened and reached a rich golden color, remove the saucepan from the heat. Stir in the vanilla extract, cinnamon (if using), and any optional ingredients like chopped nuts or chocolate chips. The chocolate chips will melt into the caramel, adding a delightful richness.
5. **Pour into Jars:**
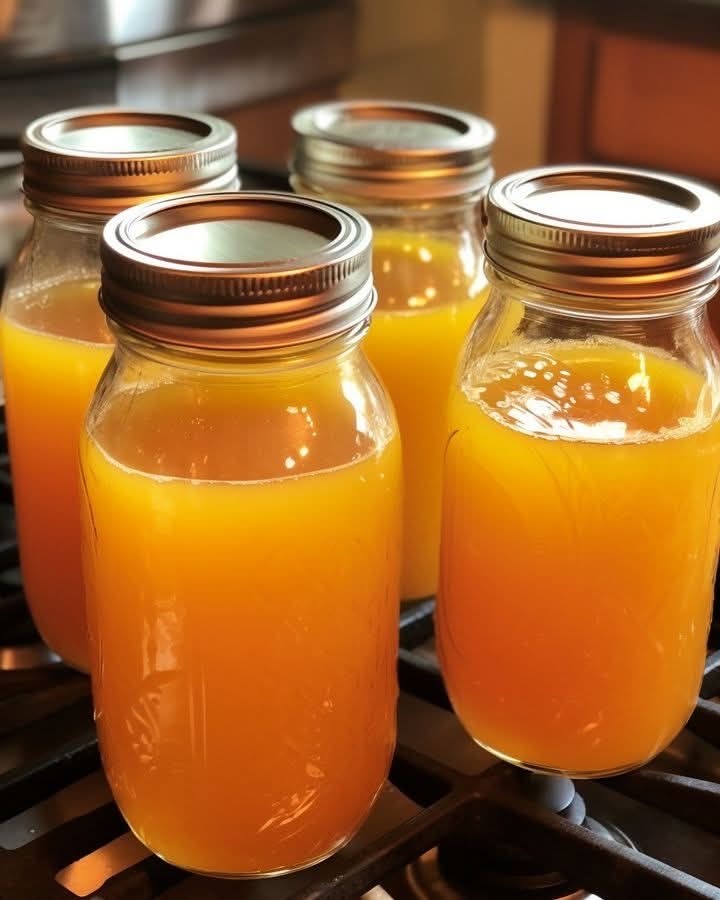
Carefully pour the warm caramel into your prepared sterilized jars. Leave a small gap at the top of each jar to allow for any expansion. Be cautious, as the caramel will be very hot.
6. **Seal and Cool:**
Once the jars are filled, seal them with the lids and let them cool completely on the counter. After they’ve cooled, the caramel will set into a thick, creamy texture that’s perfect for spreading or drizzling.
7. **Label and Decorate (Optional):**
If you’re giving this as a gift, you can decorate the jars with cute labels, ribbons, or twine to add a personalized touch. A little note with serving suggestions, like “Great on toast or drizzled over ice cream,” will make it even more special!
—
### **Why This Gift Is So Special**
* **Customizable:** The recipe is easy to adapt. You can play with the flavor profile by adding different spices (nutmeg, ginger, etc.), or stir in your favorite mix-ins like crushed cookies, dried fruit, or even a dash of espresso for a mocha flavor.
* **Quick and Simple:** It’s an easy recipe that doesn’t require fancy ingredients or complex techniques, but it yields a high-quality product that looks and tastes like you’ve spent hours crafting it.
* **Versatile:** This caramel can be used in many ways—drizzle it over desserts, use it as a dip for fruit, or simply enjoy it with a spoon. It’s a treat that’s universally loved.
* **Personal and Thoughtful:** Giving something homemade, especially in a jar, adds a personal touch that shows you care. It’s not just a gift—it’s a gesture of kindness.
—
### **Storage Tips**
* **Shelf Life:** Once the jars have cooled, they can be stored in a cool, dry place for up to two weeks. For longer storage, keep the jars in the refrigerator, where they will last up to a month.
* **Serving Tips:** If refrigerated, warm the caramel up slightly before serving to bring back its gooey, drizzly consistency. Just microwave it for about 20 seconds or heat gently in a saucepan.
—
### **Final Thoughts**
There’s something magical about receiving a jar of homemade deliciousness. Whether it’s caramel, jam, or a savory spread, these types of gifts are heartfelt and memorable. This **Pure Deliciousness in a Jar** recipe is perfect for giving during the holiday season, for birthdays, or as a sweet gesture anytime you want to make someone’s day a little brighter.
It’s not just about what’s inside the jar, but the love and care you put into creating it. So, get in the kitchen, start making batches of this amazing treat, and spread the joy with a thoughtful, homemade gift that everyone will adore!
—
Would you like some ideas for variations on this recipe, or perhaps suggestions on how to package your homemade gifts? Let me know!
