ADVERTISEMENT
Yellowed Sockets and Switches? Here’s the Trick to Lighten Them and Make Them Look New
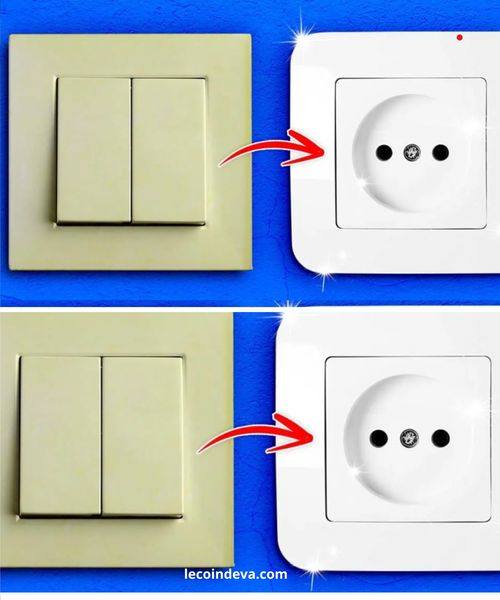
Over time, the white plastic sockets and light switches in your home can turn yellow due to exposure to dust, oils, and UV light. While this discoloration might seem inevitable, there’s no need to replace them entirely. With a few simple, cost-effective tricks, you can restore the brightness of your switches and sockets and make them look brand new again.
In this article, we’ll show you how to lighten yellowed sockets and switches using common household items. With these easy cleaning hacks, you can bring back the fresh, white appearance of your electrical fixtures in no time.
Why Do Sockets and Switches Turn Yellow?
Yellowing of electrical switches and sockets is usually caused by a combination of factors:
- UV Light Exposure: Sunlight and artificial lighting can cause plastic to yellow over time, especially in rooms with lots of natural light.
- Body Oils and Dust: Touching light switches and sockets with your hands transfers oils and grime, which can stain the surface and cause discoloration.
- Age of the Plastic: As plastic ages, it can naturally discolor, especially if it’s not of the highest quality or has been exposed to heat.
While this yellowing can be frustrating, it’s not permanent, and with the right cleaning methods, you can restore the brightness of your fixtures.
What You’ll Need:
- Baking soda
- Hydrogen peroxide (3%)
- Dish soap
- A soft cloth or sponge
- A toothbrush (optional)
- A small bowl or container
- Gloves (optional)
Step-by-Step Guide to Remove Yellowing from Sockets and Switches
Step 1: Turn Off the Power
Before you begin cleaning electrical outlets or switches, safety is a priority. Turn off the power to the area you’ll be working on by switching off the circuit breaker. This will ensure that you can clean safely without the risk of electric shock.
If you’re cleaning light switches or outlets that are near other electrical devices, be sure to also disconnect those devices from the sockets for extra safety.
Step 2: Remove the Covers
Use a screwdriver to carefully remove the socket or switch covers from the wall. Most light switch covers are secured with a single screw, and outlet covers usually have two screws. Once the covers are removed, set them aside in a safe location.
Step 3: Clean with a Mild Soap Solution
To start fresh, it’s always a good idea to remove any dirt and grime from the surface before tackling the yellowing.
- Mix a small amount of mild dish soap with warm water in a bowl or small container.
- Dip a soft cloth or sponge into the soapy water and wring it out so it’s damp, not soaking wet.
- Wipe down the socket or switch covers to remove dust, oil, and debris. Be gentle and avoid getting any water inside the socket or switch itself.
Step 4: Use Baking Soda for Scrubbing (Optional)
If there’s a bit of grime or sticky residue left on the surface, baking soda can act as a gentle abrasive. It will help lift off any remaining dirt and grime without damaging the plastic.
- Sprinkle a small amount of baking soda onto a damp sponge or soft cloth.
- Gently scrub the surface of the socket or switch cover with the baking soda, focusing on areas with visible grime or yellowing.
- Rinse with clean water and wipe it dry with a cloth. This step will ensure a clean base for the whitening process.
Step 5: Apply Hydrogen Peroxide to Lighten Yellowing
Now it’s time to address the yellowing. Hydrogen peroxide is a powerful solution that works to lighten discoloration, thanks to its bleaching and oxidizing properties. Here’s how to use it:
- In a small bowl or container, pour a small amount of hydrogen peroxide (3%). You can also apply the peroxide directly to a clean cloth or sponge.
- Soak a clean cloth with hydrogen peroxide and gently dab it onto the yellowed areas of the socket or switch cover.
