ADVERTISEMENT
Grandma’s 100-Year-Old Homemade Bread Recipe: Better Than Any Store-Bought Loaf 🍞❤️
There’s something magical about the smell of fresh bread baking in the oven — it fills the kitchen with warmth, comfort, and the feeling of home. And when that bread comes from a recipe passed down for over 100 years, it becomes more than just food. It becomes a legacy.
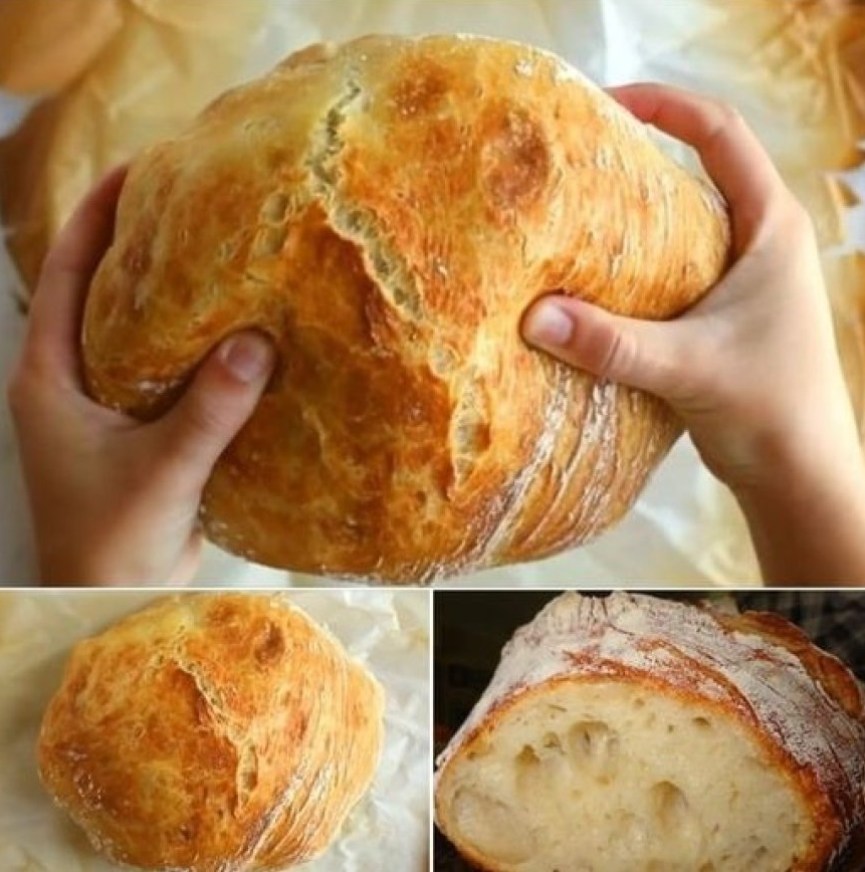
Grandma’s 100-year-old homemade bread recipe is one of those treasured family secrets — simple, rustic, and deeply satisfying. With just a handful of basic ingredients and a little love, this old-fashioned bread delivers a flavor and texture that no store-bought loaf can ever match. One bite, and you’ll understand why this recipe has stood the test of time.
🥖 What Makes This Bread So Special?
This isn’t artisan bread full of gimmicks or exotic grains — it’s the kind of bread that fed generations, baked in cast iron ovens and wood-fired stoves, meant to be slathered with butter, dunked in soup, or used for hearty sandwiches.
What sets Grandma’s bread apart is:
- Simplicity – no additives, no preservatives, just real ingredients.
- Texture – soft on the inside, with a golden, chewy crust.
- Flavor – subtly sweet, slightly nutty, and utterly nostalgic.
This is the bread that brought the family to the table — and now, it can bring yours.
🥣 Ingredients (Makes 2 Loaves)
- 6 cups all-purpose flour (plus more for kneading)
- 2 cups warm water (about 110°F / 45°C)
- 2 ¼ teaspoons active dry yeast (1 packet)
- 2 tablespoons sugar or honey
- 2 tablespoons butter or lard, melted
- 2 teaspoons salt
👩🍳 Instructions
1. Activate the Yeast
In a large bowl or stand mixer, combine the warm water and sugar (or honey). Stir to dissolve, then sprinkle the yeast on top. Let it sit for 5–10 minutes, or until it becomes foamy. This step proves the yeast is alive and ready to rise.
2. Mix the Dough
Add melted butter (or lard) and salt to the yeast mixture. Gradually stir in the flour, 1 cup at a time, until a soft dough begins to form. You may not need all 6 cups — use just enough until the dough pulls away from the sides of the bowl and becomes workable.
3. Knead the Dough
Transfer the dough to a lightly floured surface and knead for 8–10 minutes until it becomes smooth and elastic. This develops the gluten, which gives the bread its chewy texture.
4. First Rise
Place the dough in a greased bowl, cover with a clean towel or plastic wrap, and let it rise in a warm spot for 1 to 1½ hours, or until doubled in size.
For Complete Cooking STEPS Please Head On Over To Next Page Or Open button (>) and don’t forget to SHARE with your Facebook friends
