ADVERTISEMENT
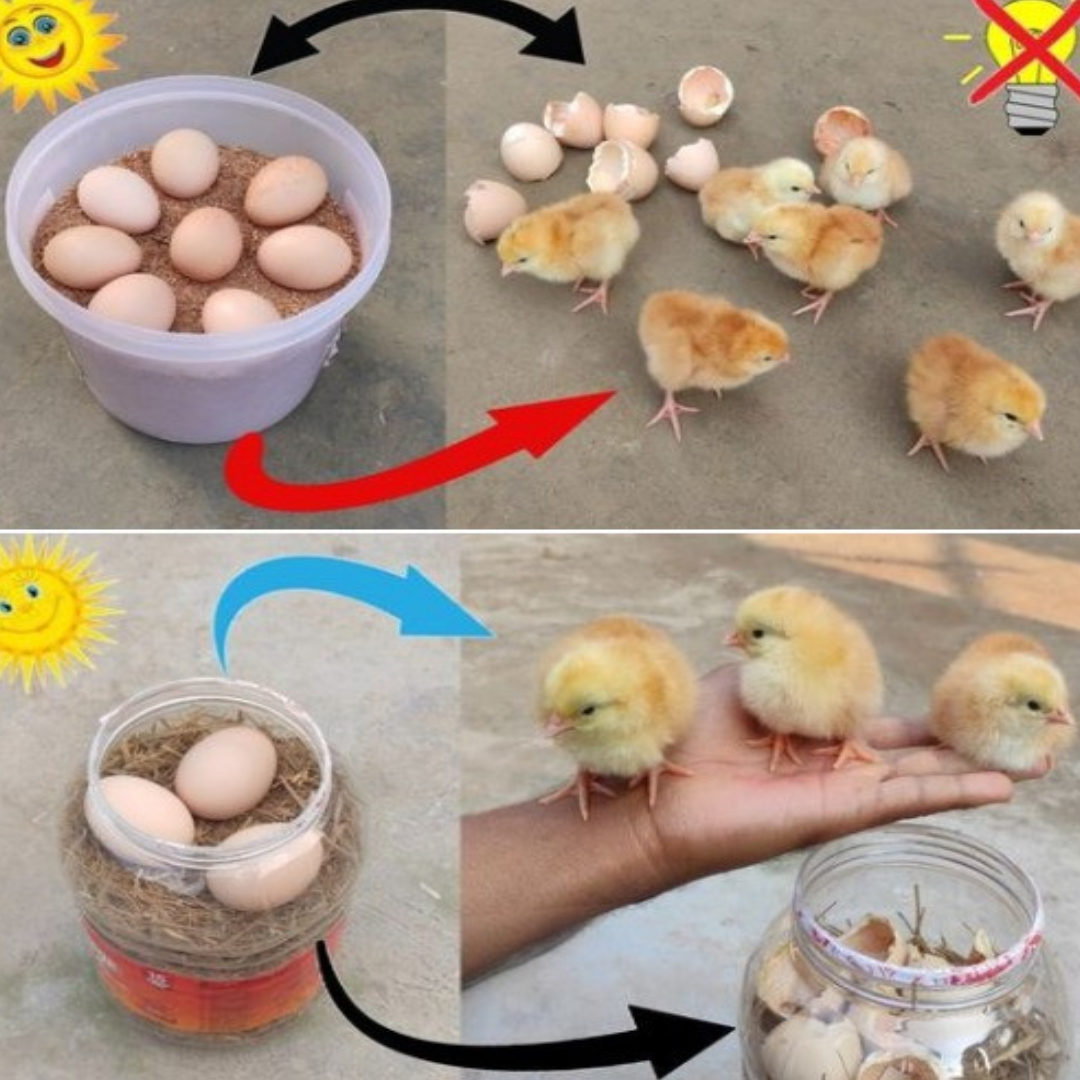
How to Make a Zero-Cost Domestic Incubator from a Plastic Bottle
Turn Trash into a Mini Life Saver for Seeds, Eggs, or Science Projects
Have you ever wished you could hatch an egg, sprout seeds faster, or do a cool science experiment at home—without spending a cent? With just a plastic bottle and a few common household items, you can build your very own zero-cost domestic incubator. It’s simple, sustainable, and surprisingly effective.
This homemade incubator won’t rival commercial versions, but it’s perfect for germinating seeds, starting compost cultures, keeping small critters warm, or even experimenting with egg incubation on a small scale.
Let’s turn that empty bottle into something surprisingly powerful.
🧪 What You’ll Need:
- 1 large transparent plastic bottle (1.5 to 2-liter water or soda bottle works best)
- 1 small LED or flashlight bulb (optional, for warmth)
- A USB cable or an old phone charger (for powering a bulb, if used)
- A small piece of aluminum foil
- Cotton or paper towel
- Thermometer (optional but helpful)
- A cutter or scissors
- Tape (duct tape, packing tape, or electrical tape)
🔧 How to Make It — Step-by-Step
1. Cut the Bottle in Half
- Use your cutter or scissors to cut the bottle horizontally, about one-third from the bottom.
- This will give you a “bottom tray” and a “top dome.”
2. Prepare the Heating System (Optional)
If you’re hatching eggs or need steady warmth:
- Take a small 5V LED or flashlight bulb and attach it to a cut USB cable or old charger. Wrap connections securely with tape.
- Place the bulb inside the lower portion of the bottle, slightly to the side.
- Line the inside wall near the bulb with aluminum foil to reflect heat inside the chamber.
Note: If you’re using this for seed germination or warmth-loving microbes, you can skip the bulb and just rely on sunlight or ambient heat.
3. Add Moisture and Insulation
- Place a damp paper towel or cotton pad inside the lower portion. This keeps humidity high—essential for both eggs and sprouting seeds.
- Optional: line the bottom with a small cloth or sponge to insulate and maintain consistent humidity.
4. Create Airflow Holes
- Poke 2–4 tiny holes in the top half of the bottle for ventilation. This prevents mold and allows for oxygen exchange.
5. Assemble the Incubator
- Place your seed tray, small egg (like quail eggs), or culture container inside the bottom half.
- Gently place the top half of the bottle over it, like a dome.
- Seal the seam with tape—but keep it easy to open for checking progress.
- For Complete Cooking STEPS Please Head On Over To Next Page Or Open button (>) and don’t forget to SHARE with your Facebook friends
