ADVERTISEMENT
Removing Popcorn Ceilings: A Step-by-Step Guide for a Smooth, Modern Finish
Popcorn ceilings were once all the rage—easy to apply, inexpensive, and effective at hiding imperfections. However, over time, this textured ceiling treatment has fallen out of favor. Many homeowners now prefer smooth, modern ceilings for a more contemporary, clean look. If you’re tired of looking up at those outdated popcorn textures and are ready to transform your space, you’re in the right place.
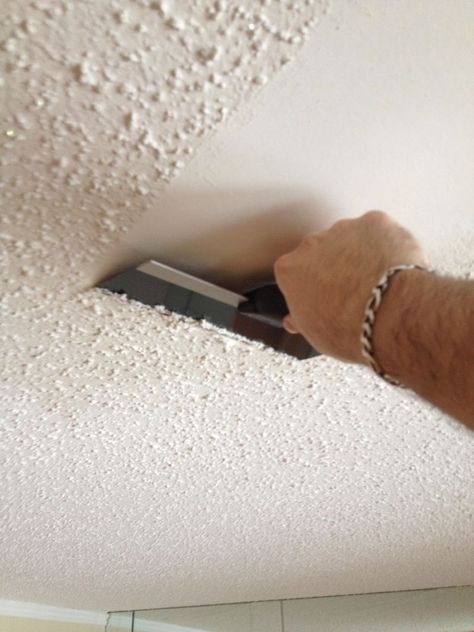
Removing popcorn ceilings can seem like a daunting task, but with the right tools and a little know-how, you can achieve a smooth, stylish ceiling without the need for expensive professionals. This guide will walk you through the step-by-step process to remove popcorn ceilings, ensuring you get the results you want.
Why Remove Popcorn Ceilings?
- Aesthetics: Popcorn ceilings often make rooms look outdated. A smooth finish gives your space a fresh, modern feel.
- Home Value: Updating the ceiling can increase the overall appeal of your home, especially if you’re planning to sell.
- Health & Safety: Older popcorn ceilings may contain asbestos (especially those installed before the 1980s), which can be harmful when disturbed. Removing the ceiling can eliminate this potential health hazard.
Tools and Materials You’ll Need
Before diving into the project, make sure you have all the necessary tools and materials:
- Plastic drop cloths or tarps (to cover furniture and floors)
- Painter’s tape
- Step ladder (if needed)
- Garden sprayer or spray bottle (for wetting the ceiling)
- Putty knife or drywall scraper (to remove the popcorn)
- Water and a sponge (for cleanup)
- Joint compound (for smoothing over any imperfections)
- Paint and primer (for a clean finish)
- Dust mask or respirator (to avoid inhaling dust, especially if asbes
